
Last week, I left you with a bunch of really unattractive "before" photos, so this week I want to give you a glimpse of where all this madness is going. As you probably recall from last week, our basement guest suite is an open concept space with one sleeping area and one seating area.
So, I already showed you how we ripped everything down to the studs and simplified the floor plan. Now, I want to fill you in on the significant progress we've made and talk about some tricky decisions I had to make about the floors and ceiling, and explain how I'm using rugs and chairs to divide up the open floor space.

The Layout
Here's what I'm up against. Because of a pending main floor bathroom remodel (read: gut job), we have to hold off on finishing the back half of the basement for a few months while we get that in order. The light gray area on the right side of the floor plan is the unfinished space.


The back third of the basement is also where the kitchen for this suite will eventually go. That means that I need to figure out a way to provide guests with some amenities without putting in a whole kitchen. I'm thinking this adorable mini fridge and an electric espresso maker tucked under the stairs could do the trick for now. It's New York, after all — the takeout options are pretty much endless!

As far as the furniture plan goes, I'm using two large rugs to define the seating aria and the sleeping space. In the seating area, I opted for two oversized blue club chairs rather than a sofa. The space is long and narrow, so I thought a sofa would only accentuate the odd shape. These chairs are super comfortable and can be placed in a more harmonious arrangement, so I don't feel like skipping a sofa was a compromise at all. Another consideration was that the doors to the basement are kinda small, so finding pieces that actually fit through the door was key!

The Ceiling
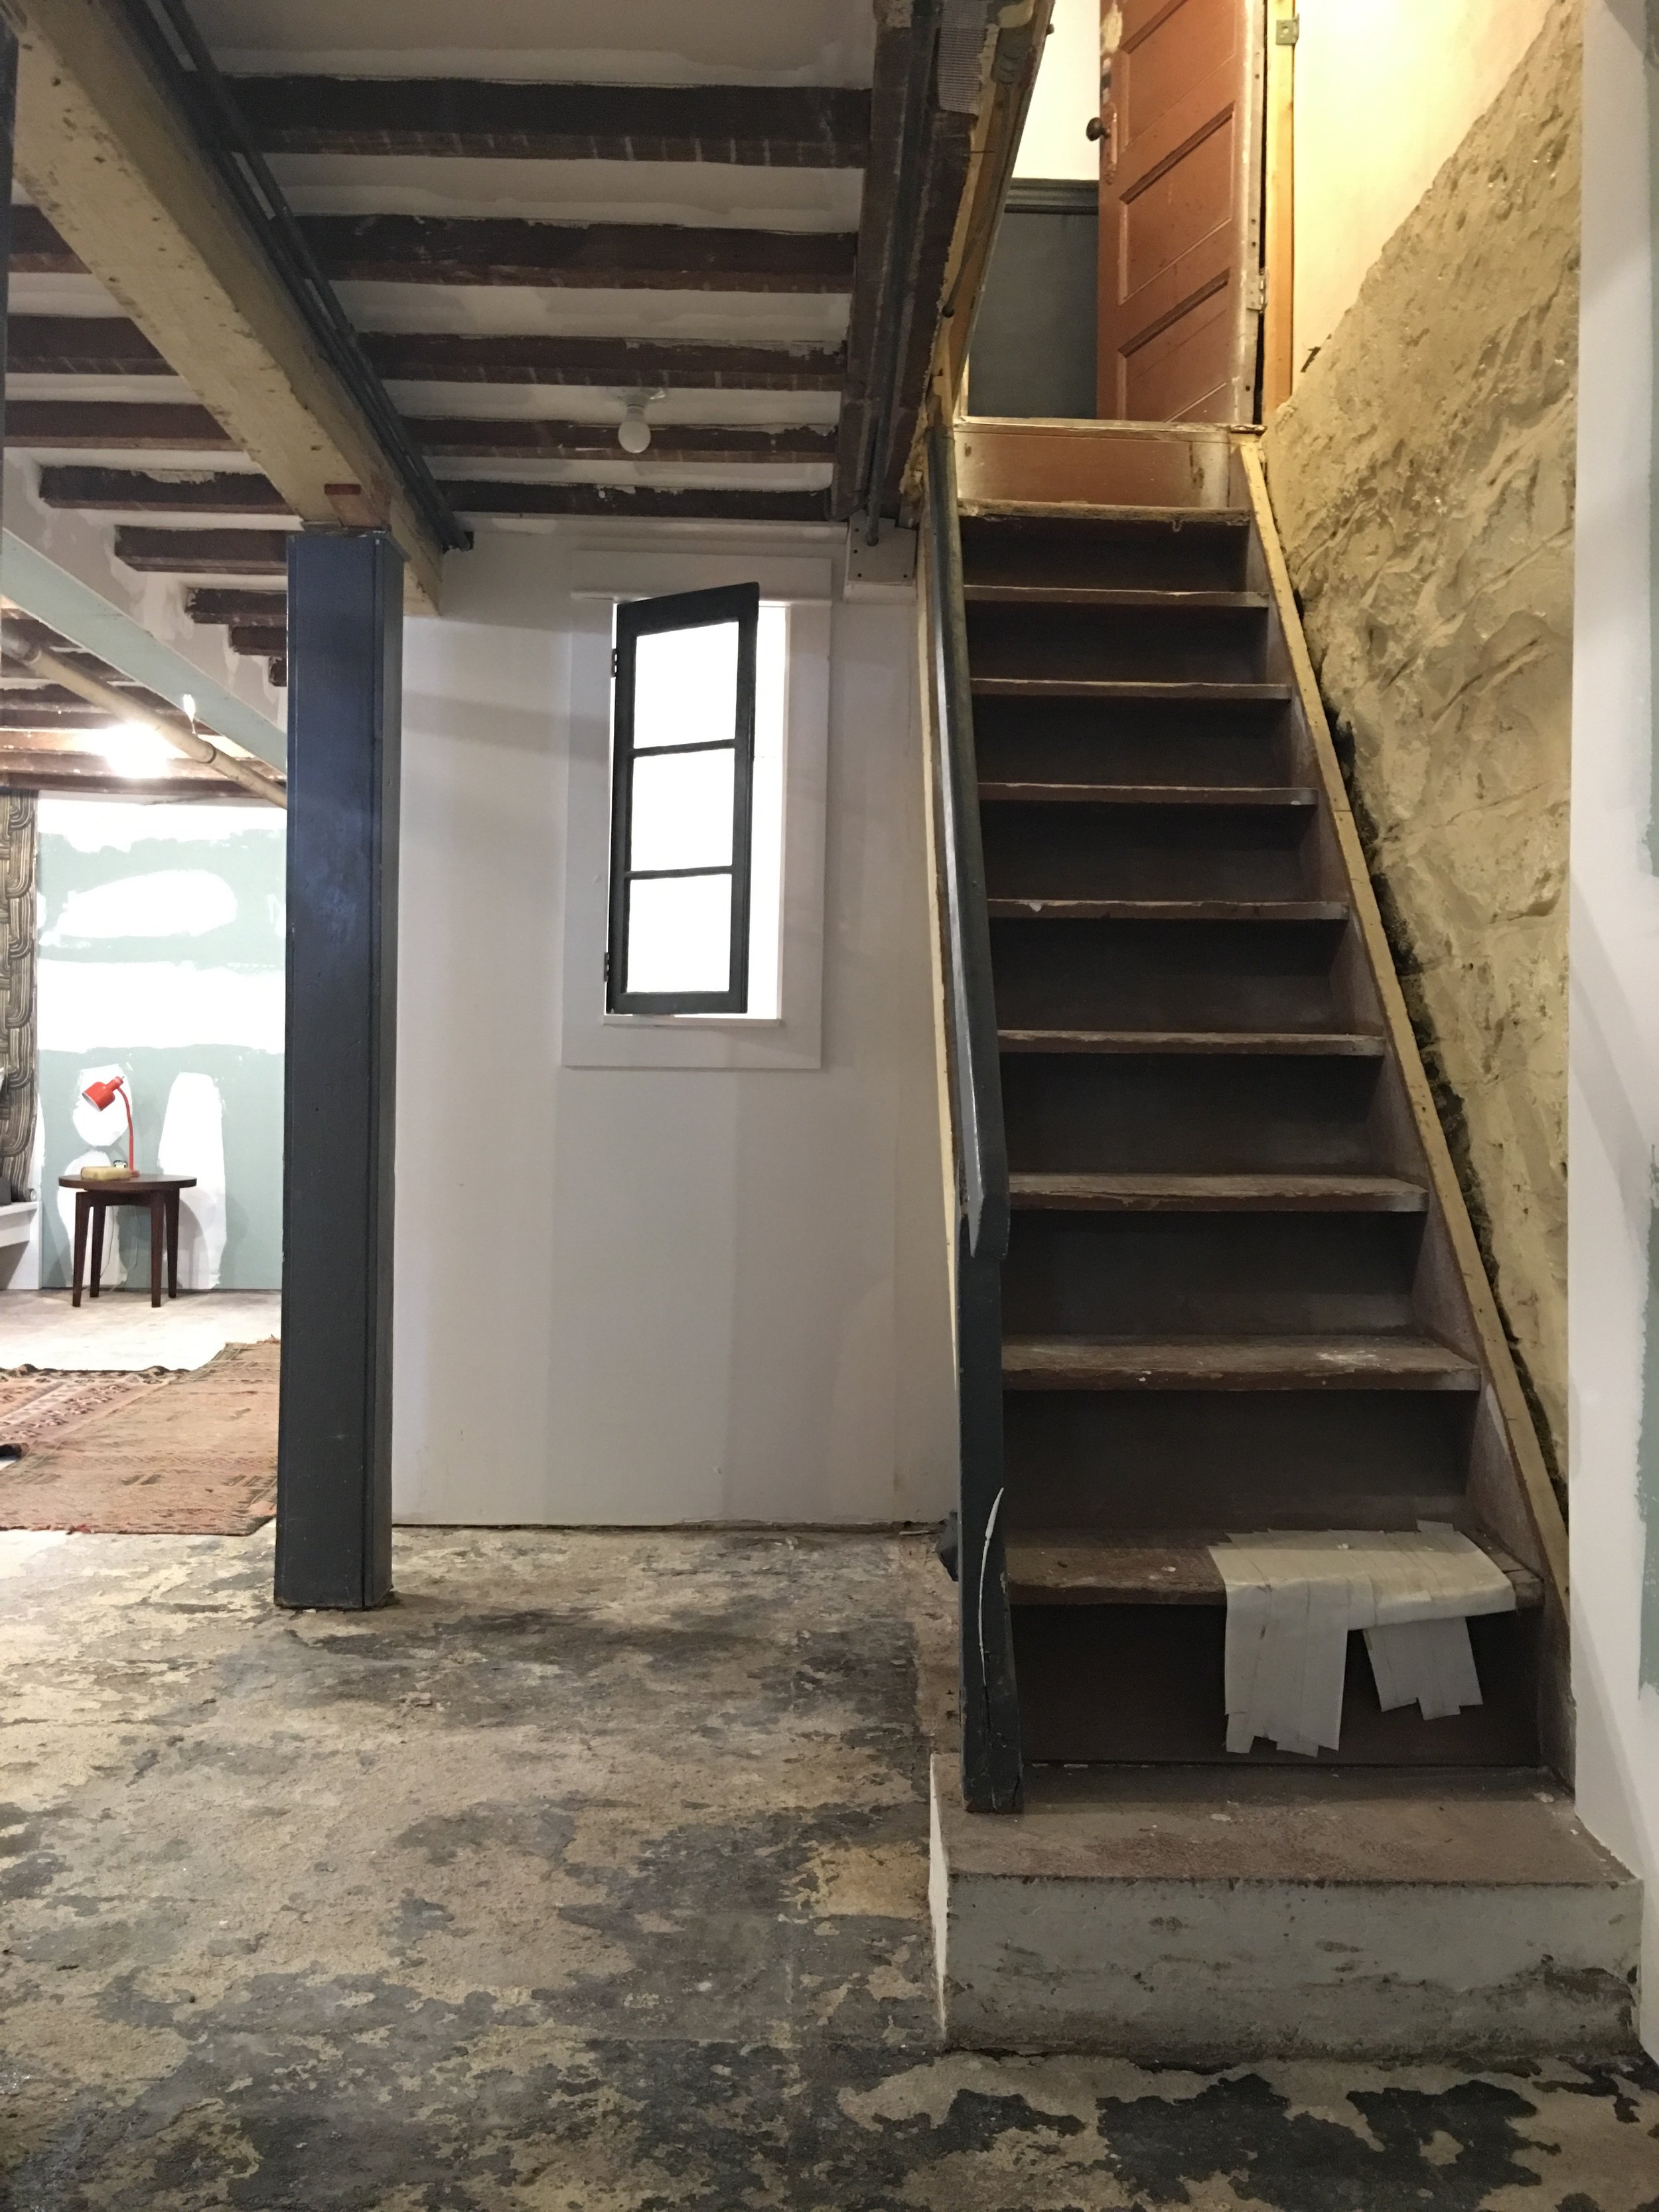
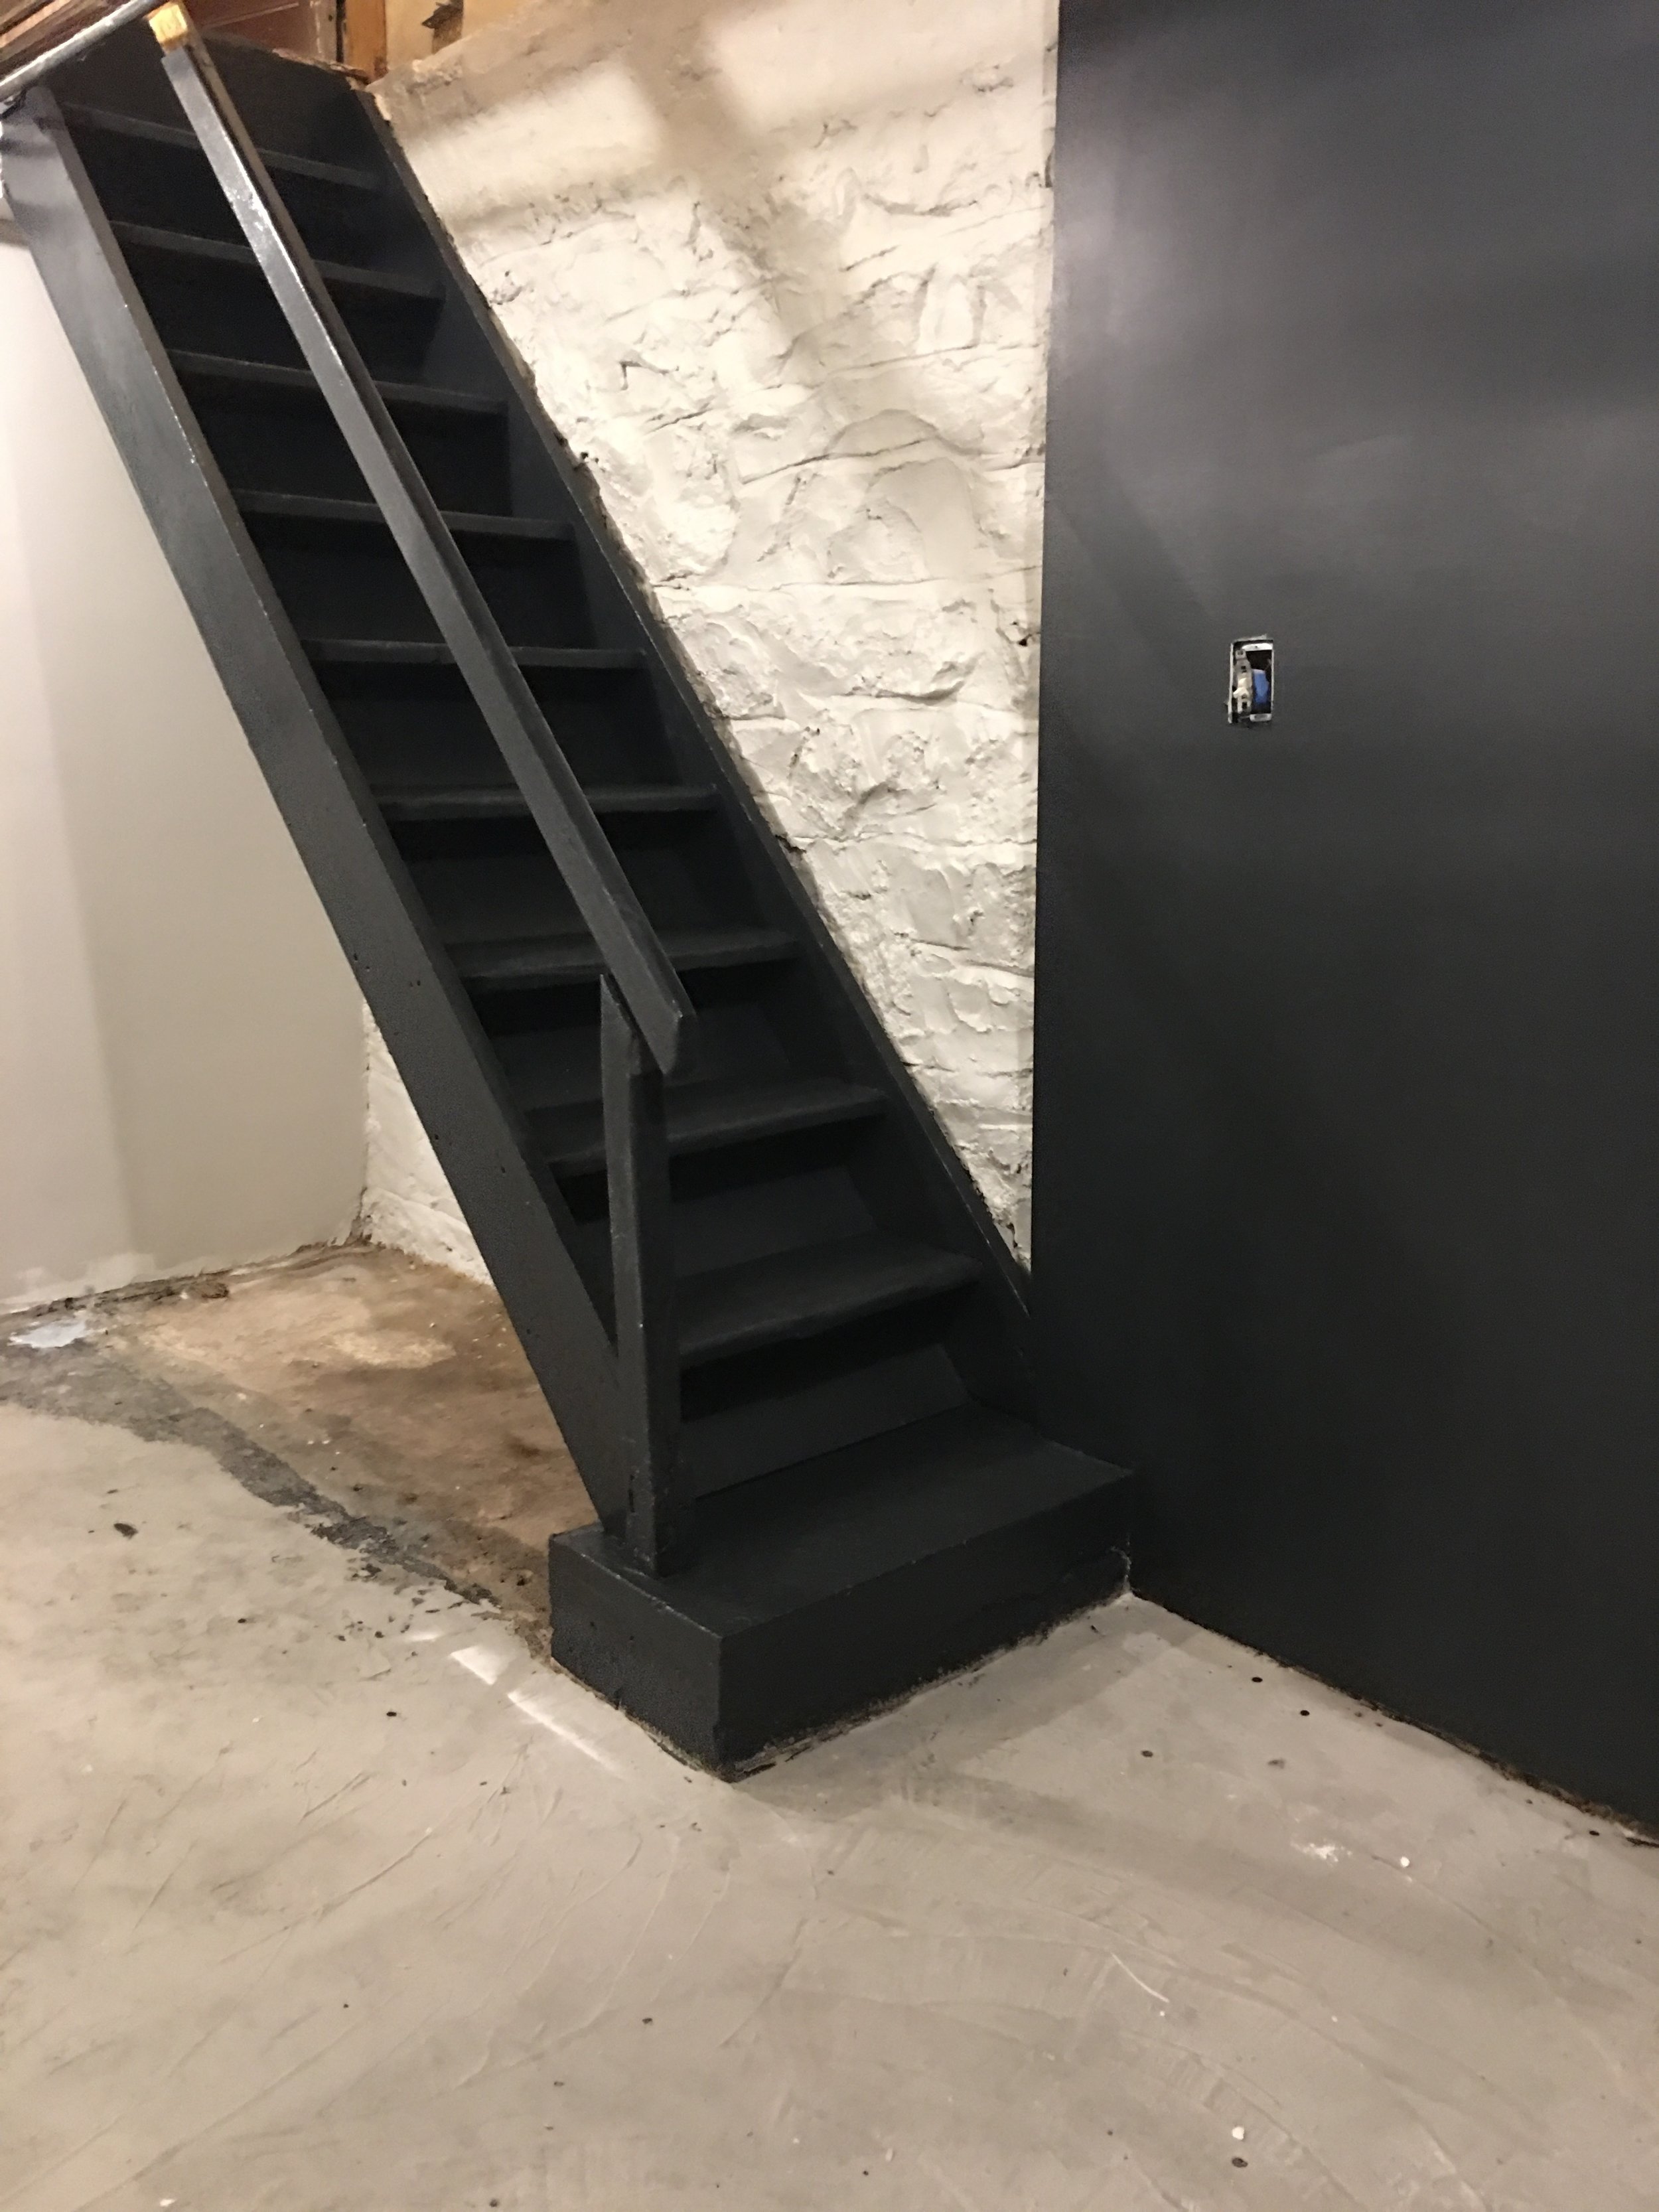
I always think that embracing the challenges of a space can turn a hurdle into a major asset. In this case, I had to figure out how to turn the low ceilings into a "pro." The basement ceiling is only a mere 7-feet-tall, so I knew that I needed to find more space. To add a little extra headroom, we removed a drop ceiling and an original plaster ceiling, and gained about 5 inches more height. In the process, we exposed the original wood floor joists and luckily, they were beautiful, so I decided to make them a feature of the space. We hung the drywall between the joists (about halfway down the joist), leaving a little space to accommodate for insulation and some new electrical. I think the exposed beams give the room a feeling of history and turn the ceiling into a feature.

The Floor
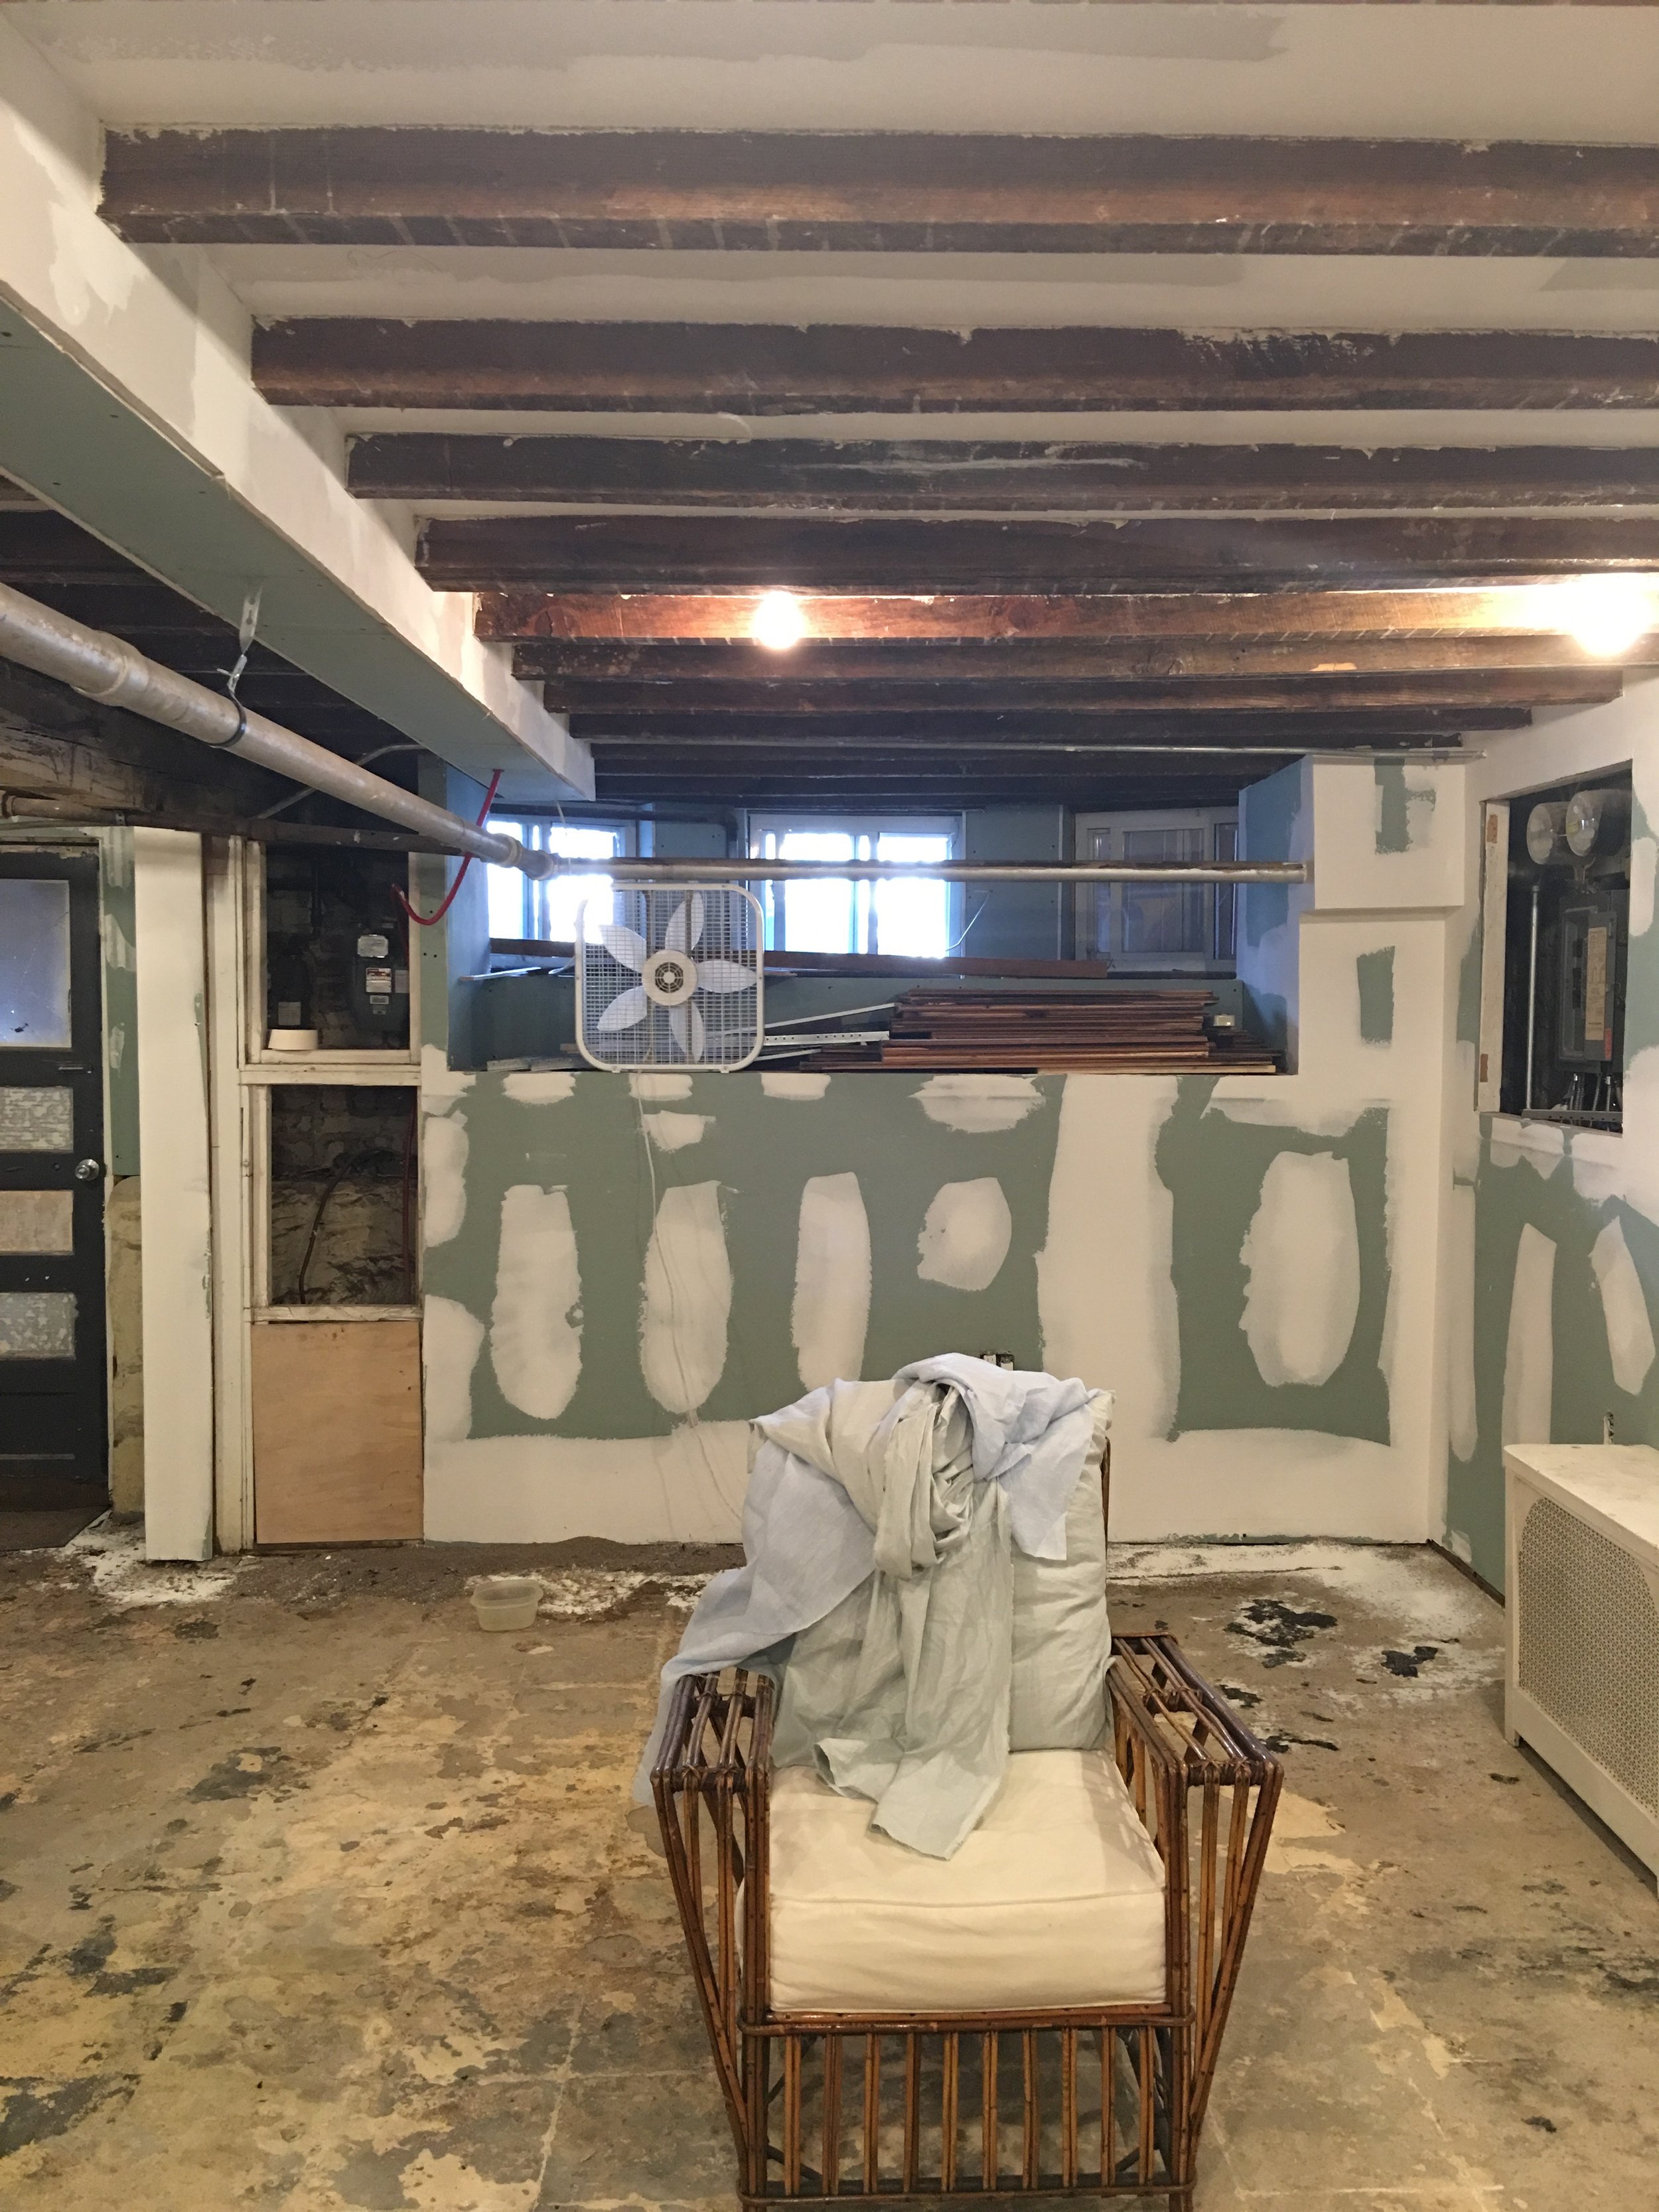
Another challenge I'm facing with this basement reno is the floor. It was covered with cracking linoleum tiles that we painstakingly pried off. Under the tile was a typical concrete basement floor. Eventually, we plan on installing a high-end laminate flooring, but that will have to wait until we are ready to tackle the back of the space. For now, the plan is to paint the floor and cover ninety percent of it with two big rugs. I'm using two 10-by-12-foot Karastan Smart Stand rugs. This particular carpet has built-in stain and soil resistance that will never wear off, so I figured it was a natural choice for a basement Airbnb rental. I can't wait for the rugs to go down. I think they will really warm up the space! I chose a pretty natural color (Soft Natural) because I plan on layering smaller patterned rugs on top of the Karastan foundation for added warmth and texture.

After we removed the tile we realized that the floor around the stairs and the front door was pitted and uneven and totally not ready for paint. To smooth things out, I add a layer of self-leveling concrete.
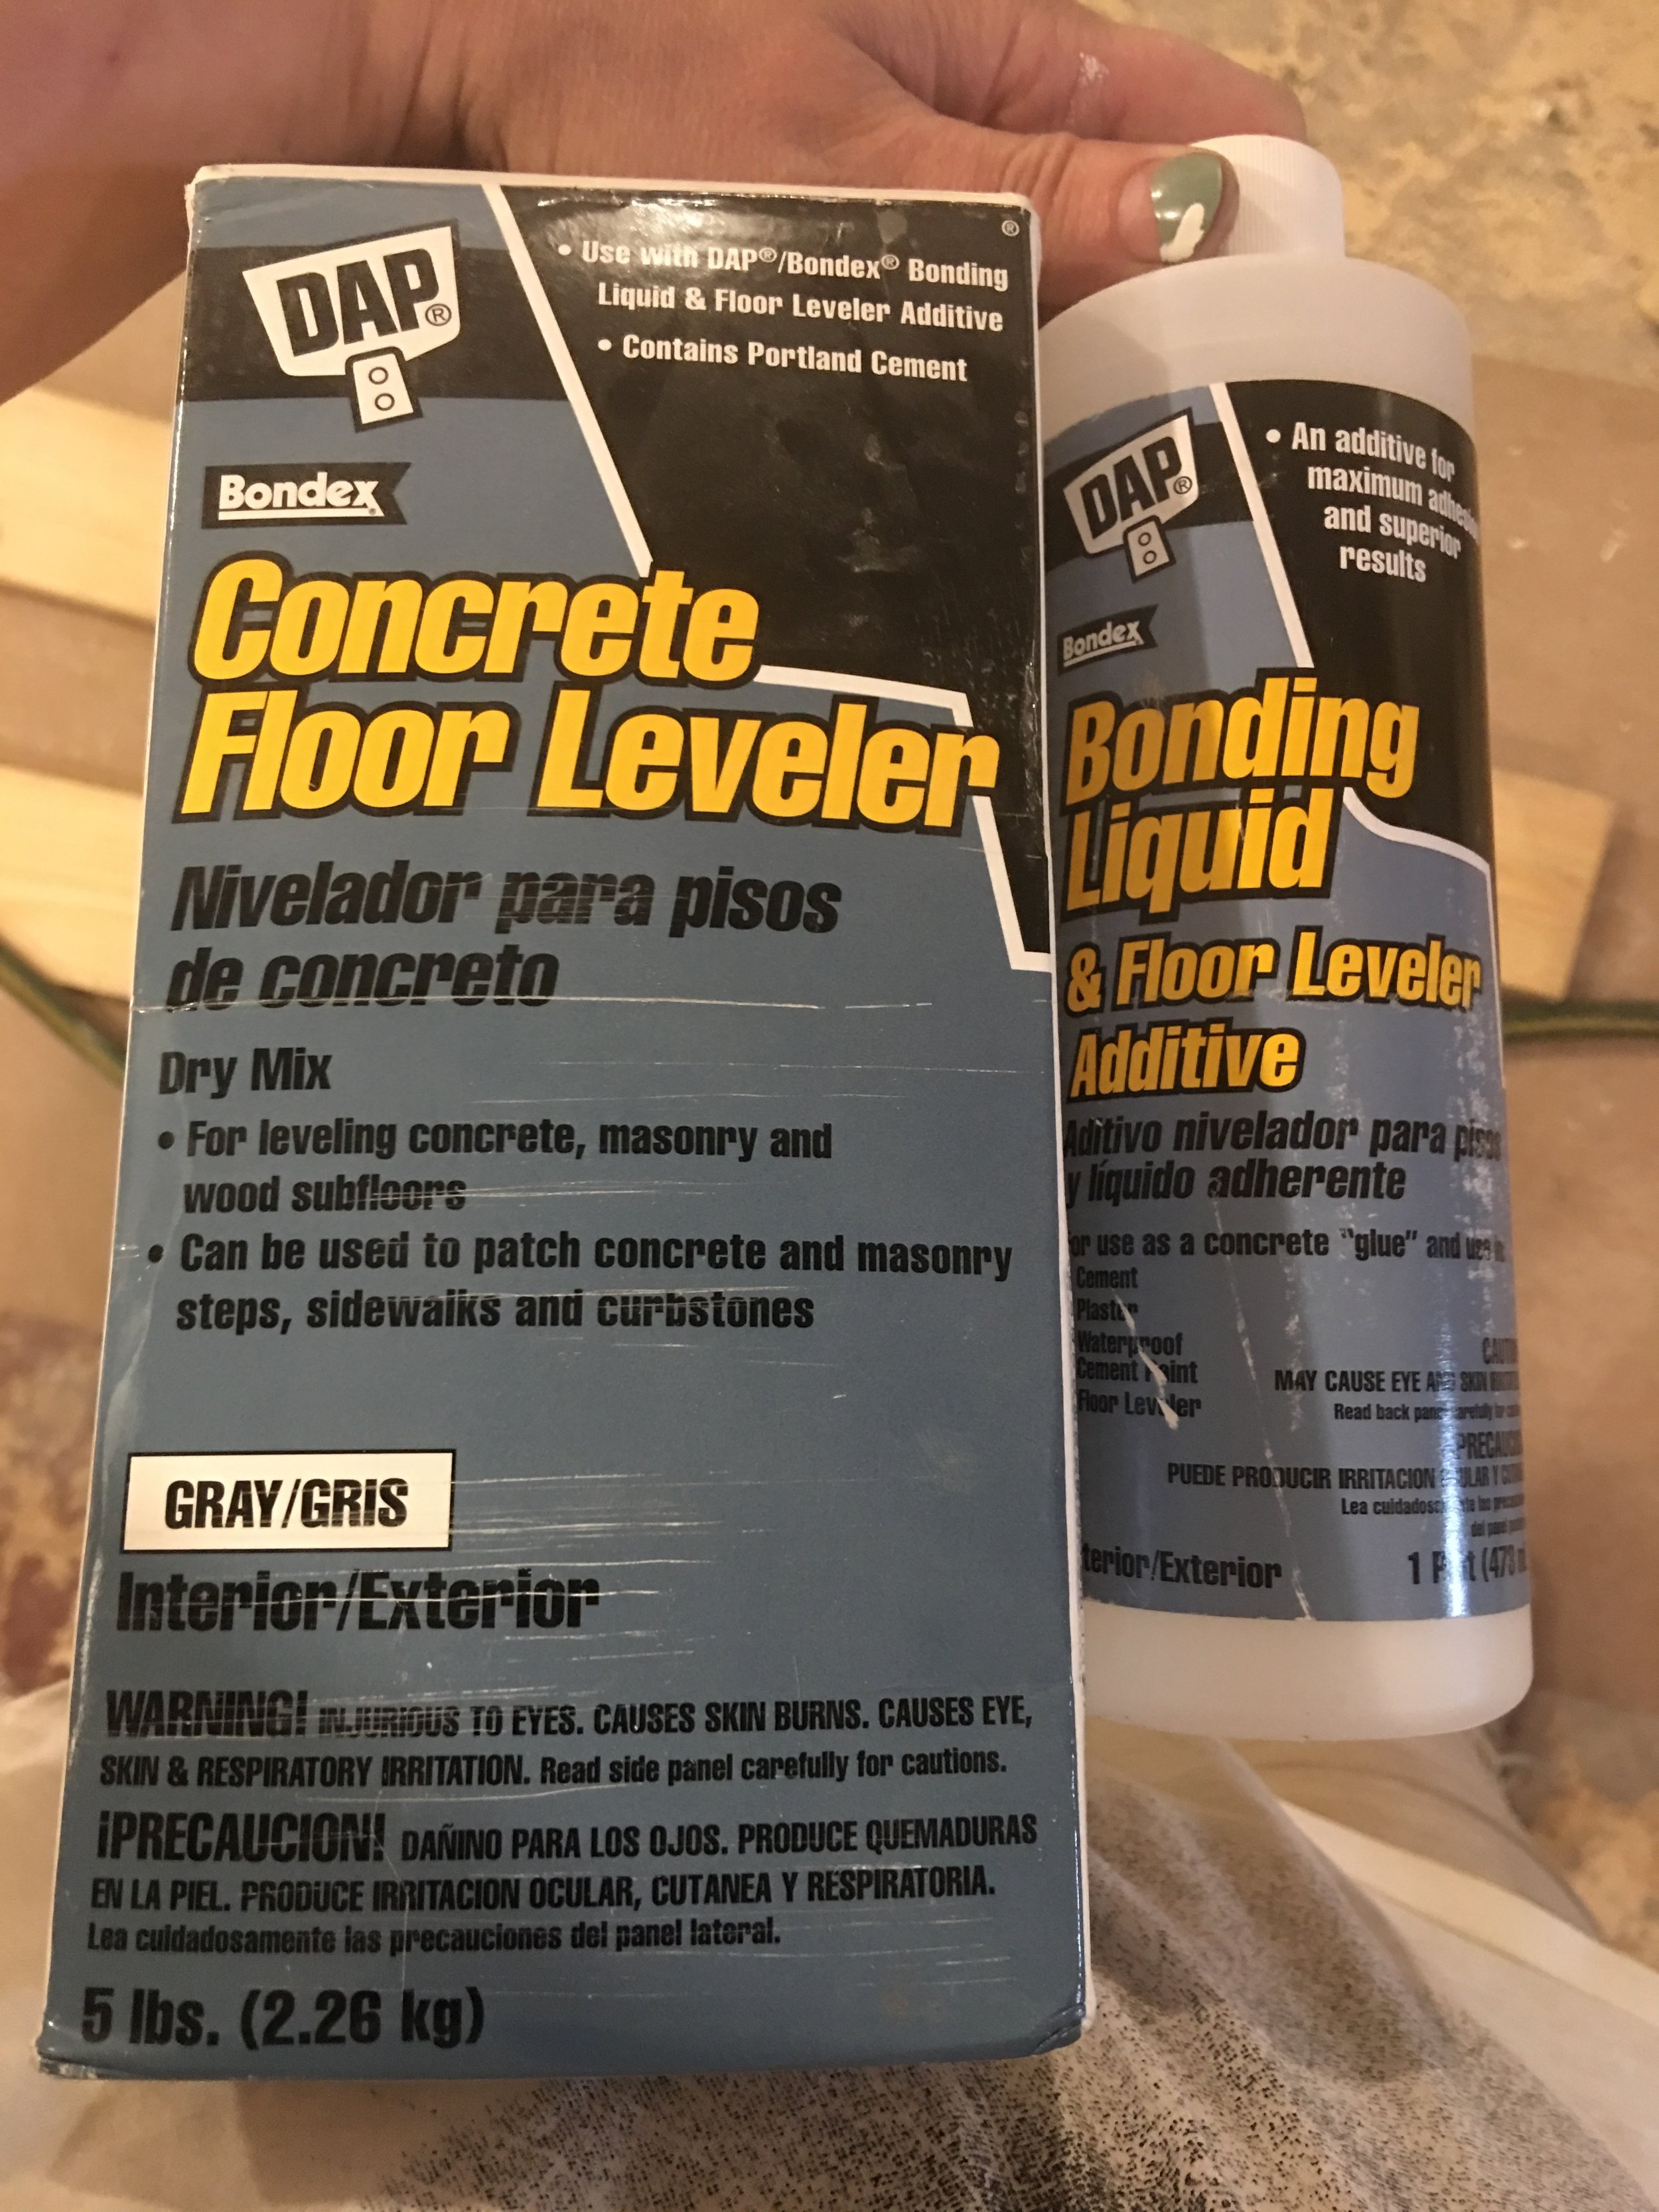
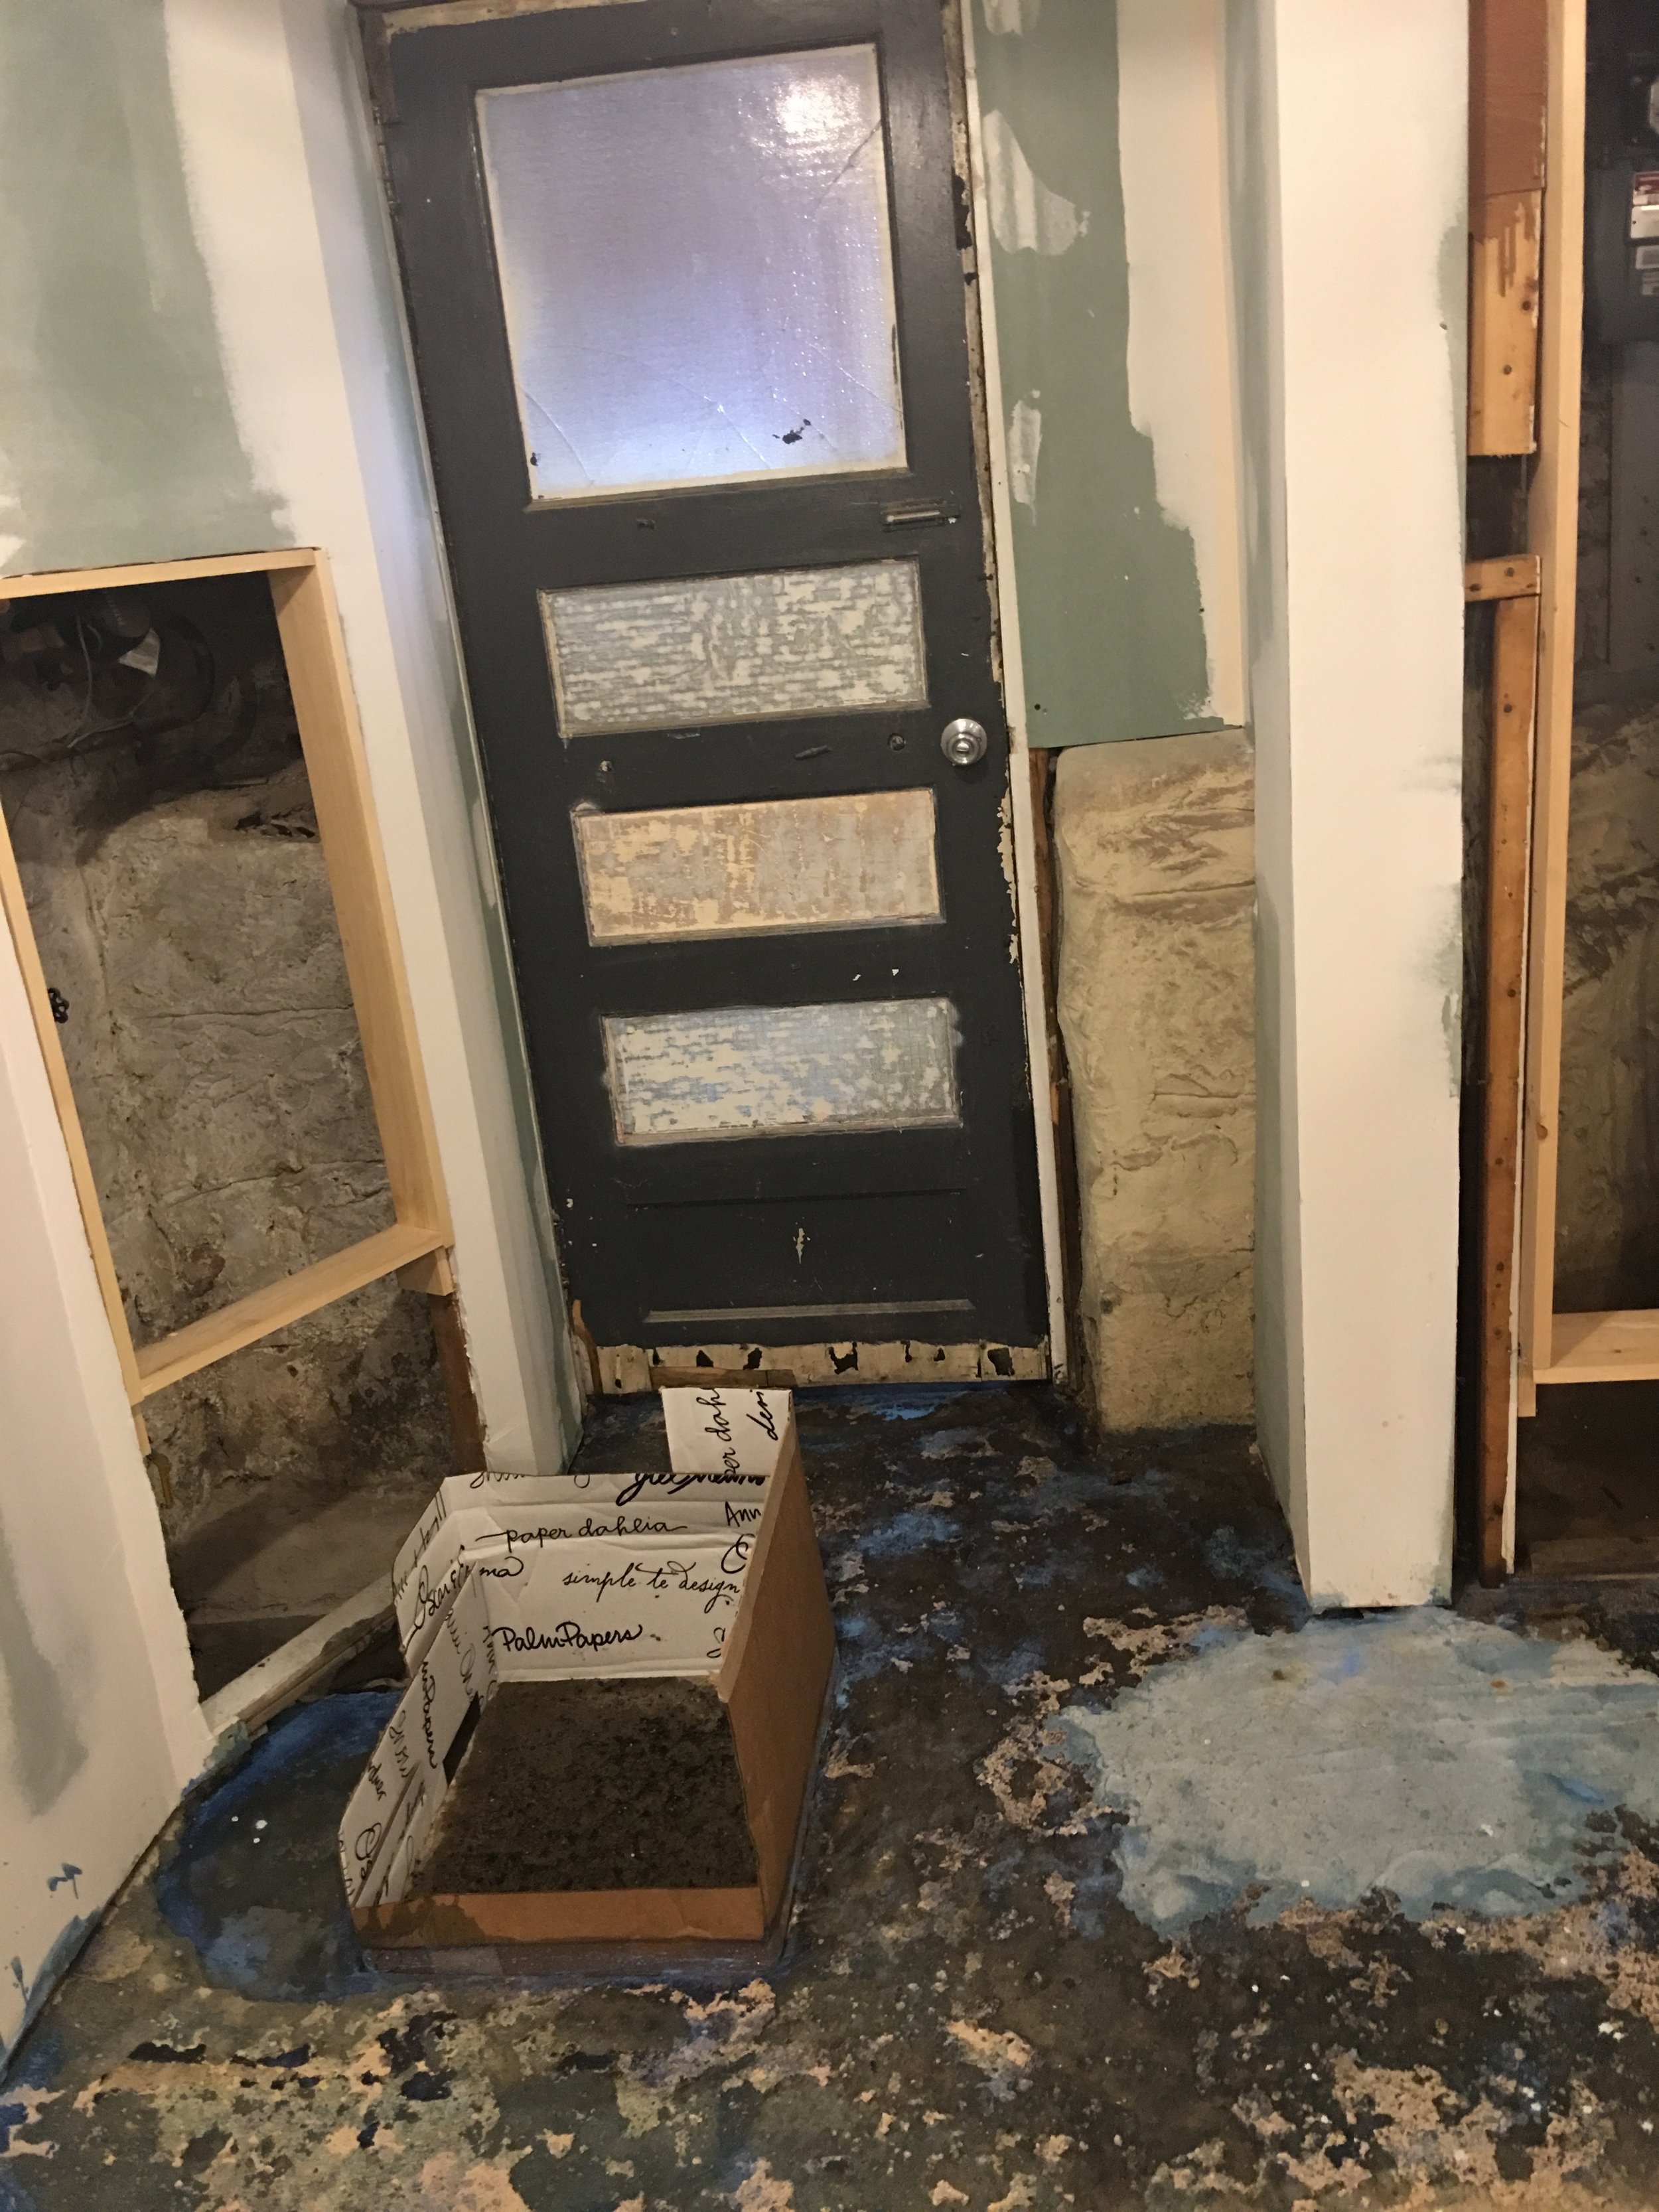
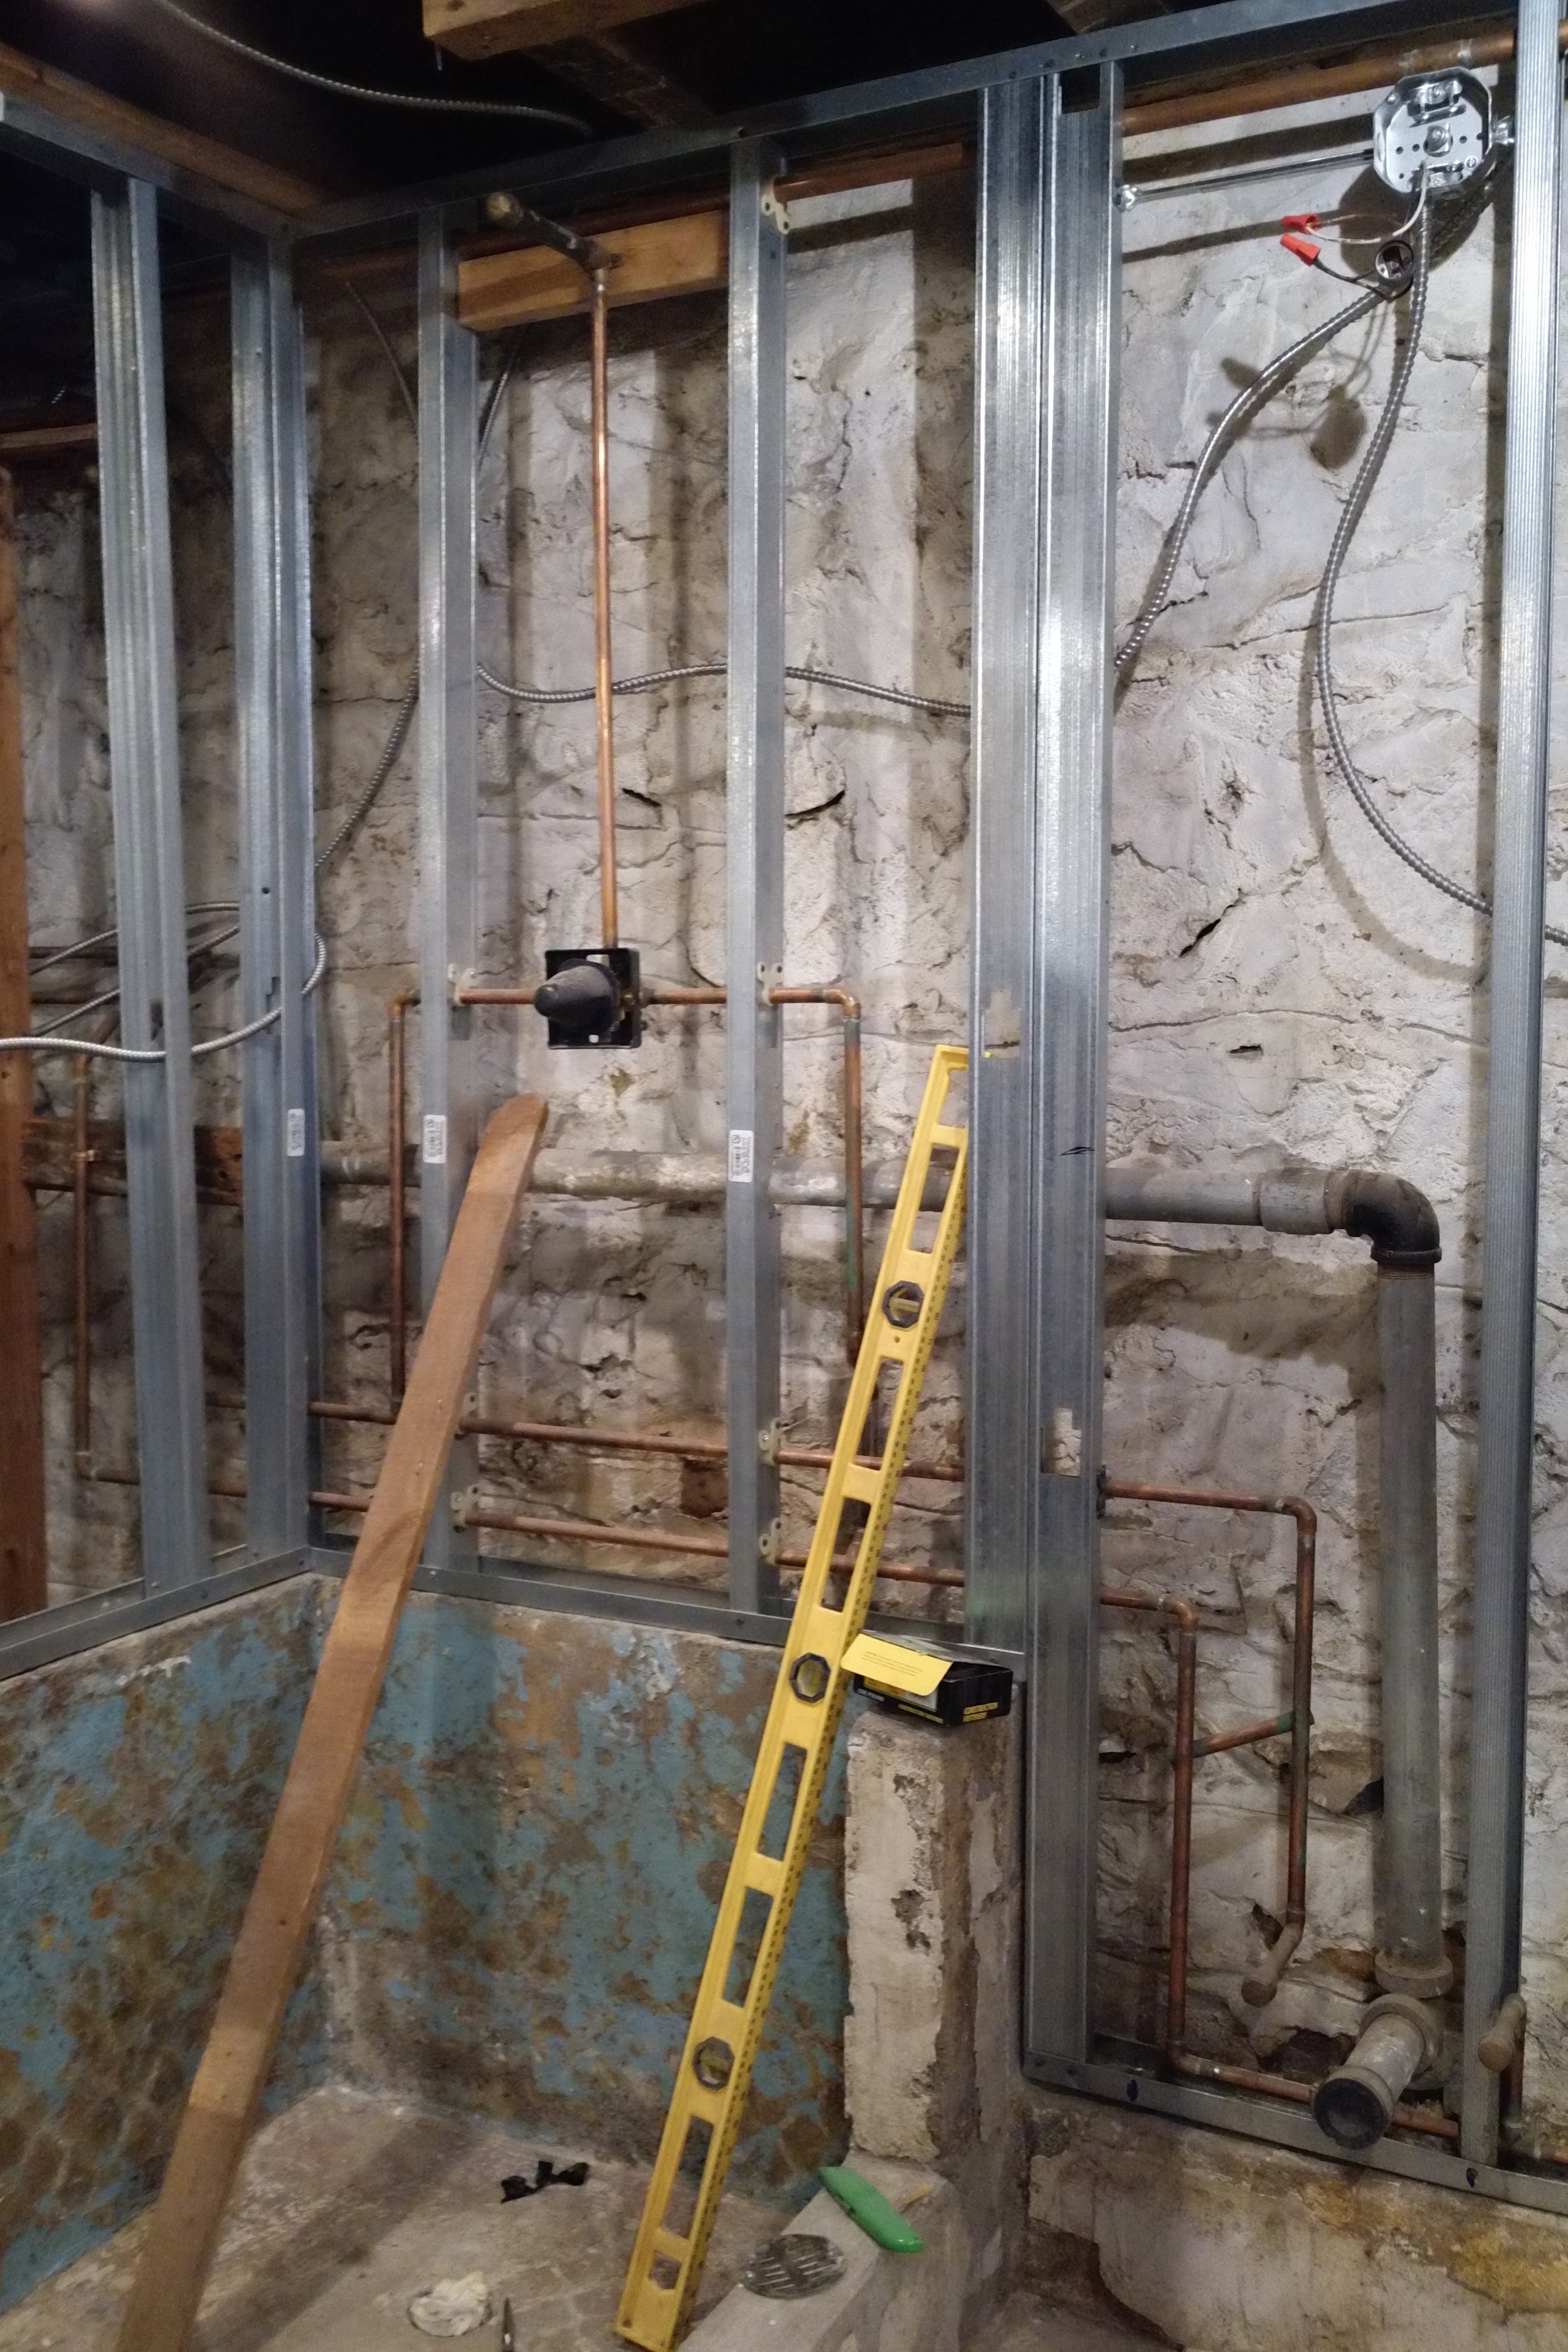
Applying the floor-leveling-cement was actually pretty simple. You clean the floor, brush on the primer, mix the compound with water and pour it on the floor. The hardest part was figuring out how to keep it from flowing into a recessed area in our floor where some really important plumbing is located. See that box on the floor in the bottom left picture? That's my attempt at blocking the compound... it mostly worked.
Week Two Updates
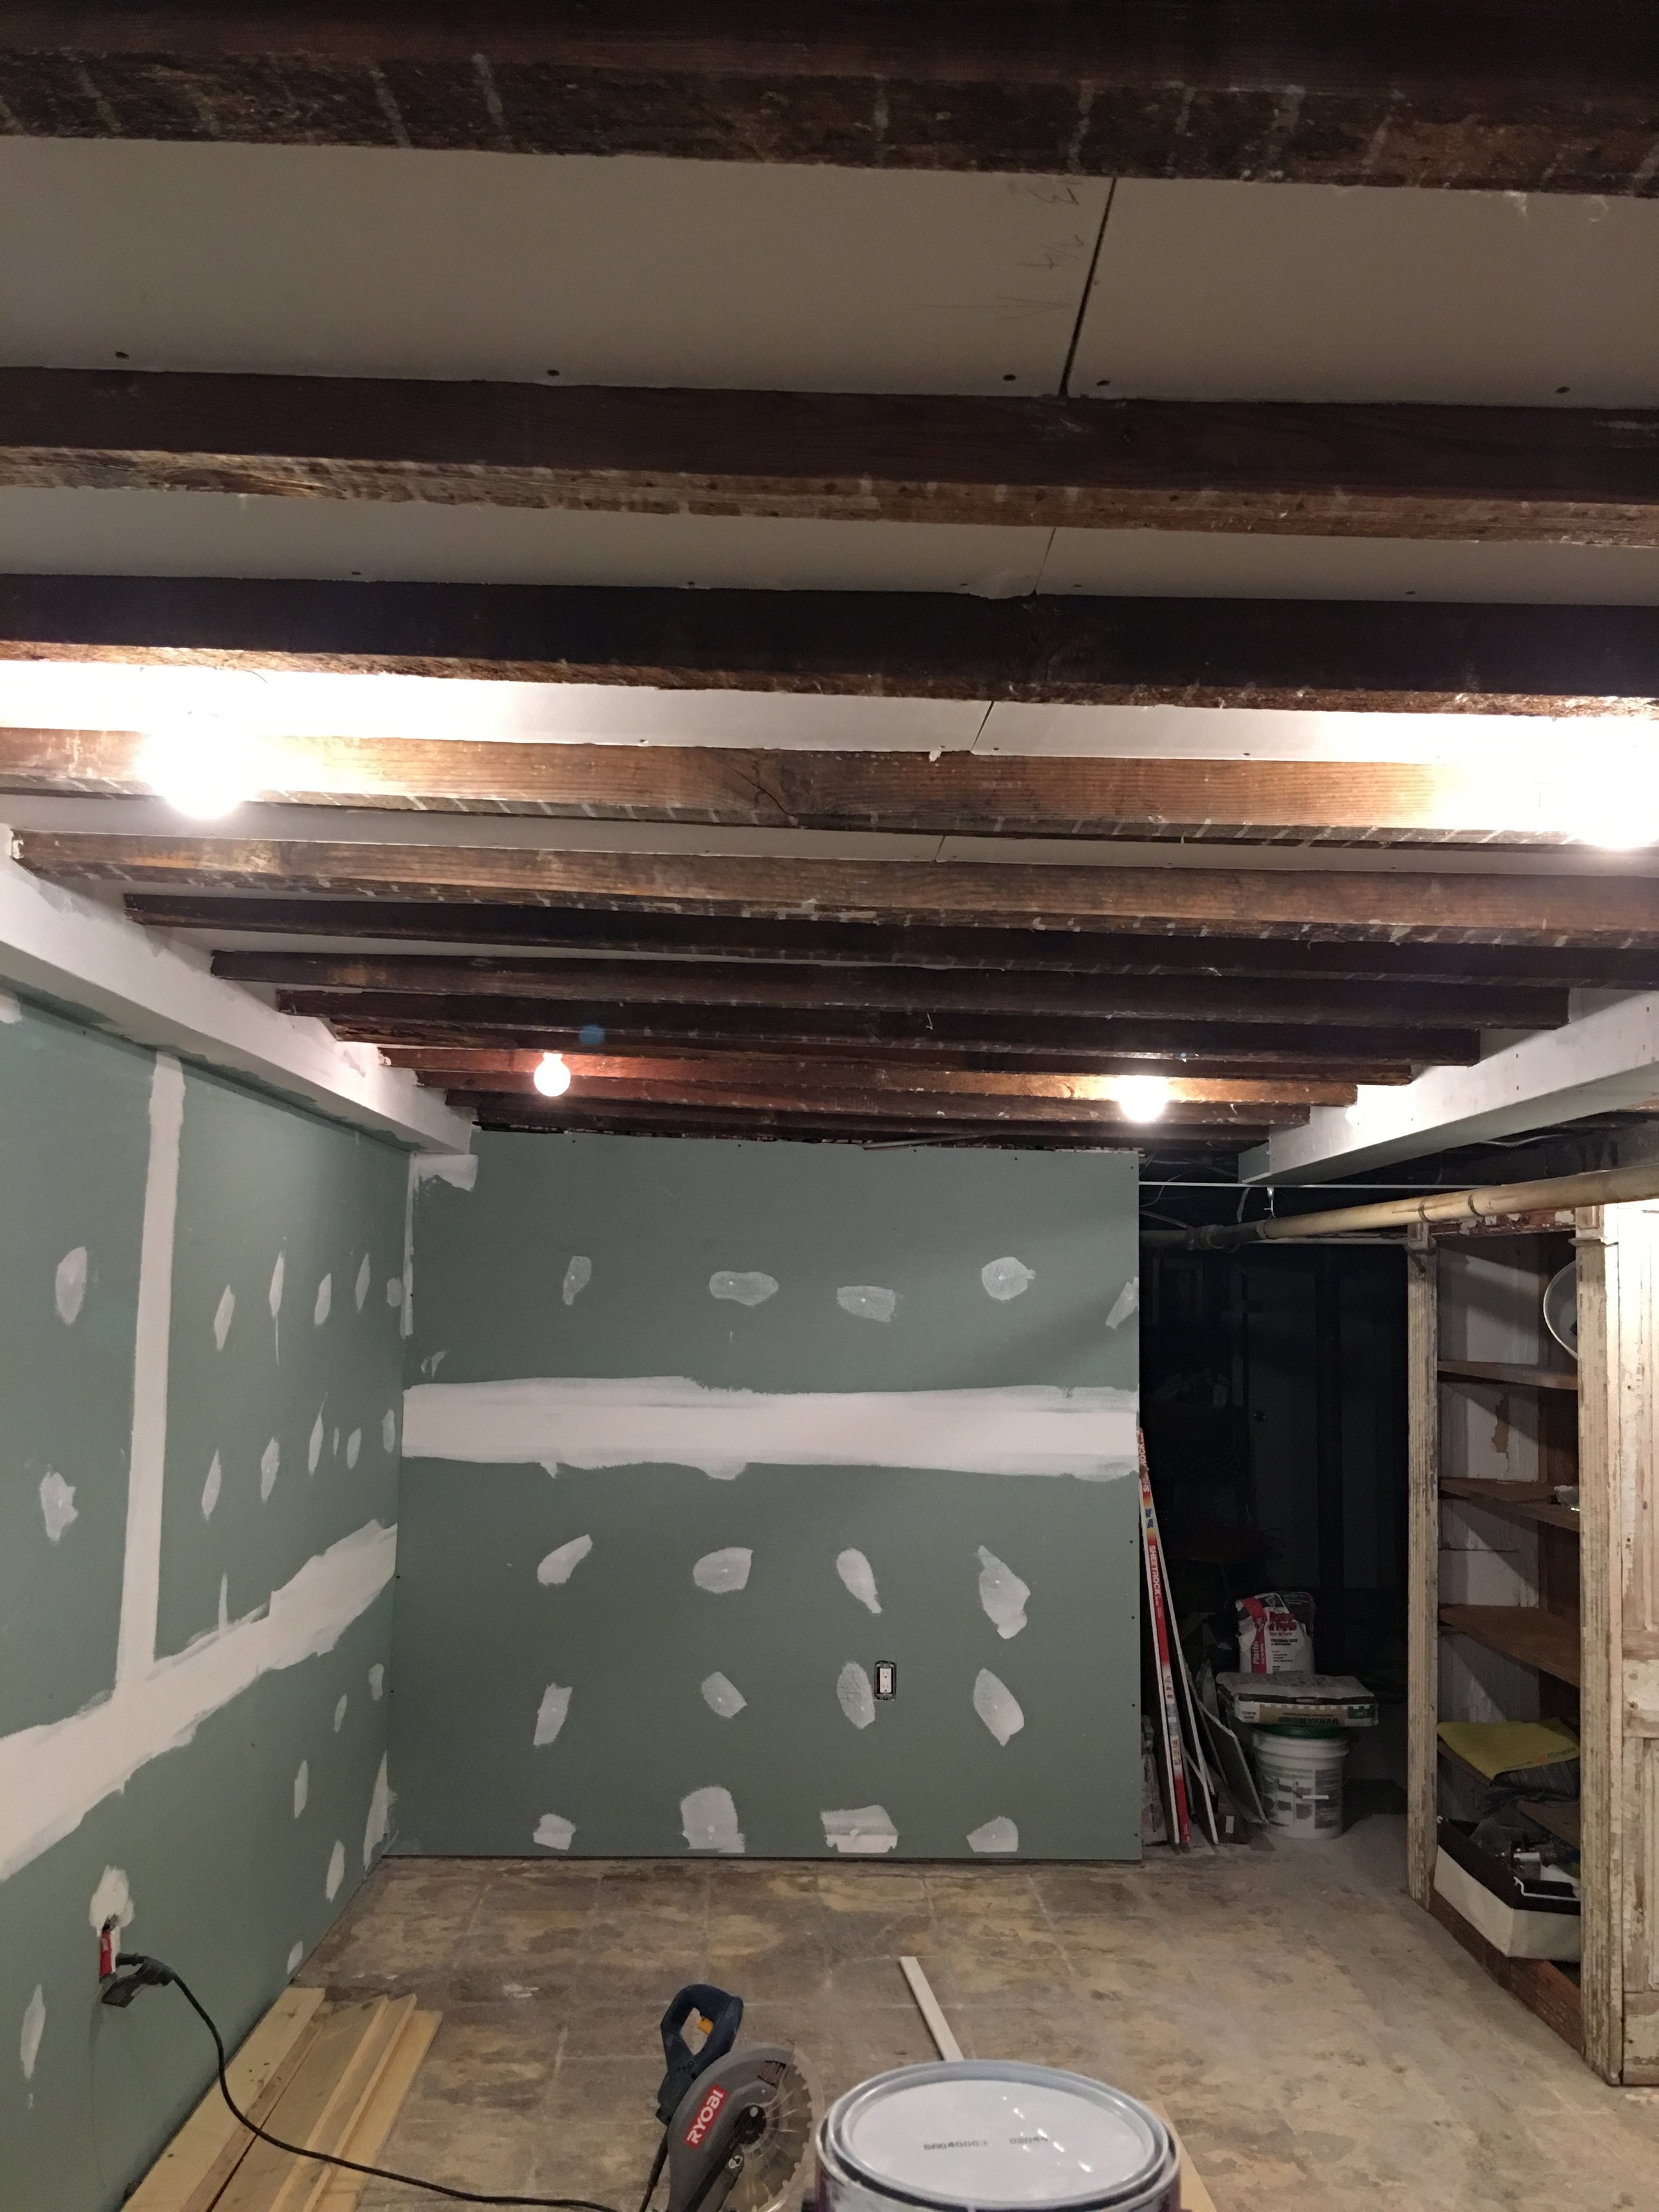


The drywall is up and ready for paint! I know this still looks crazy, but once the paint is on the wall things are gonna get good.
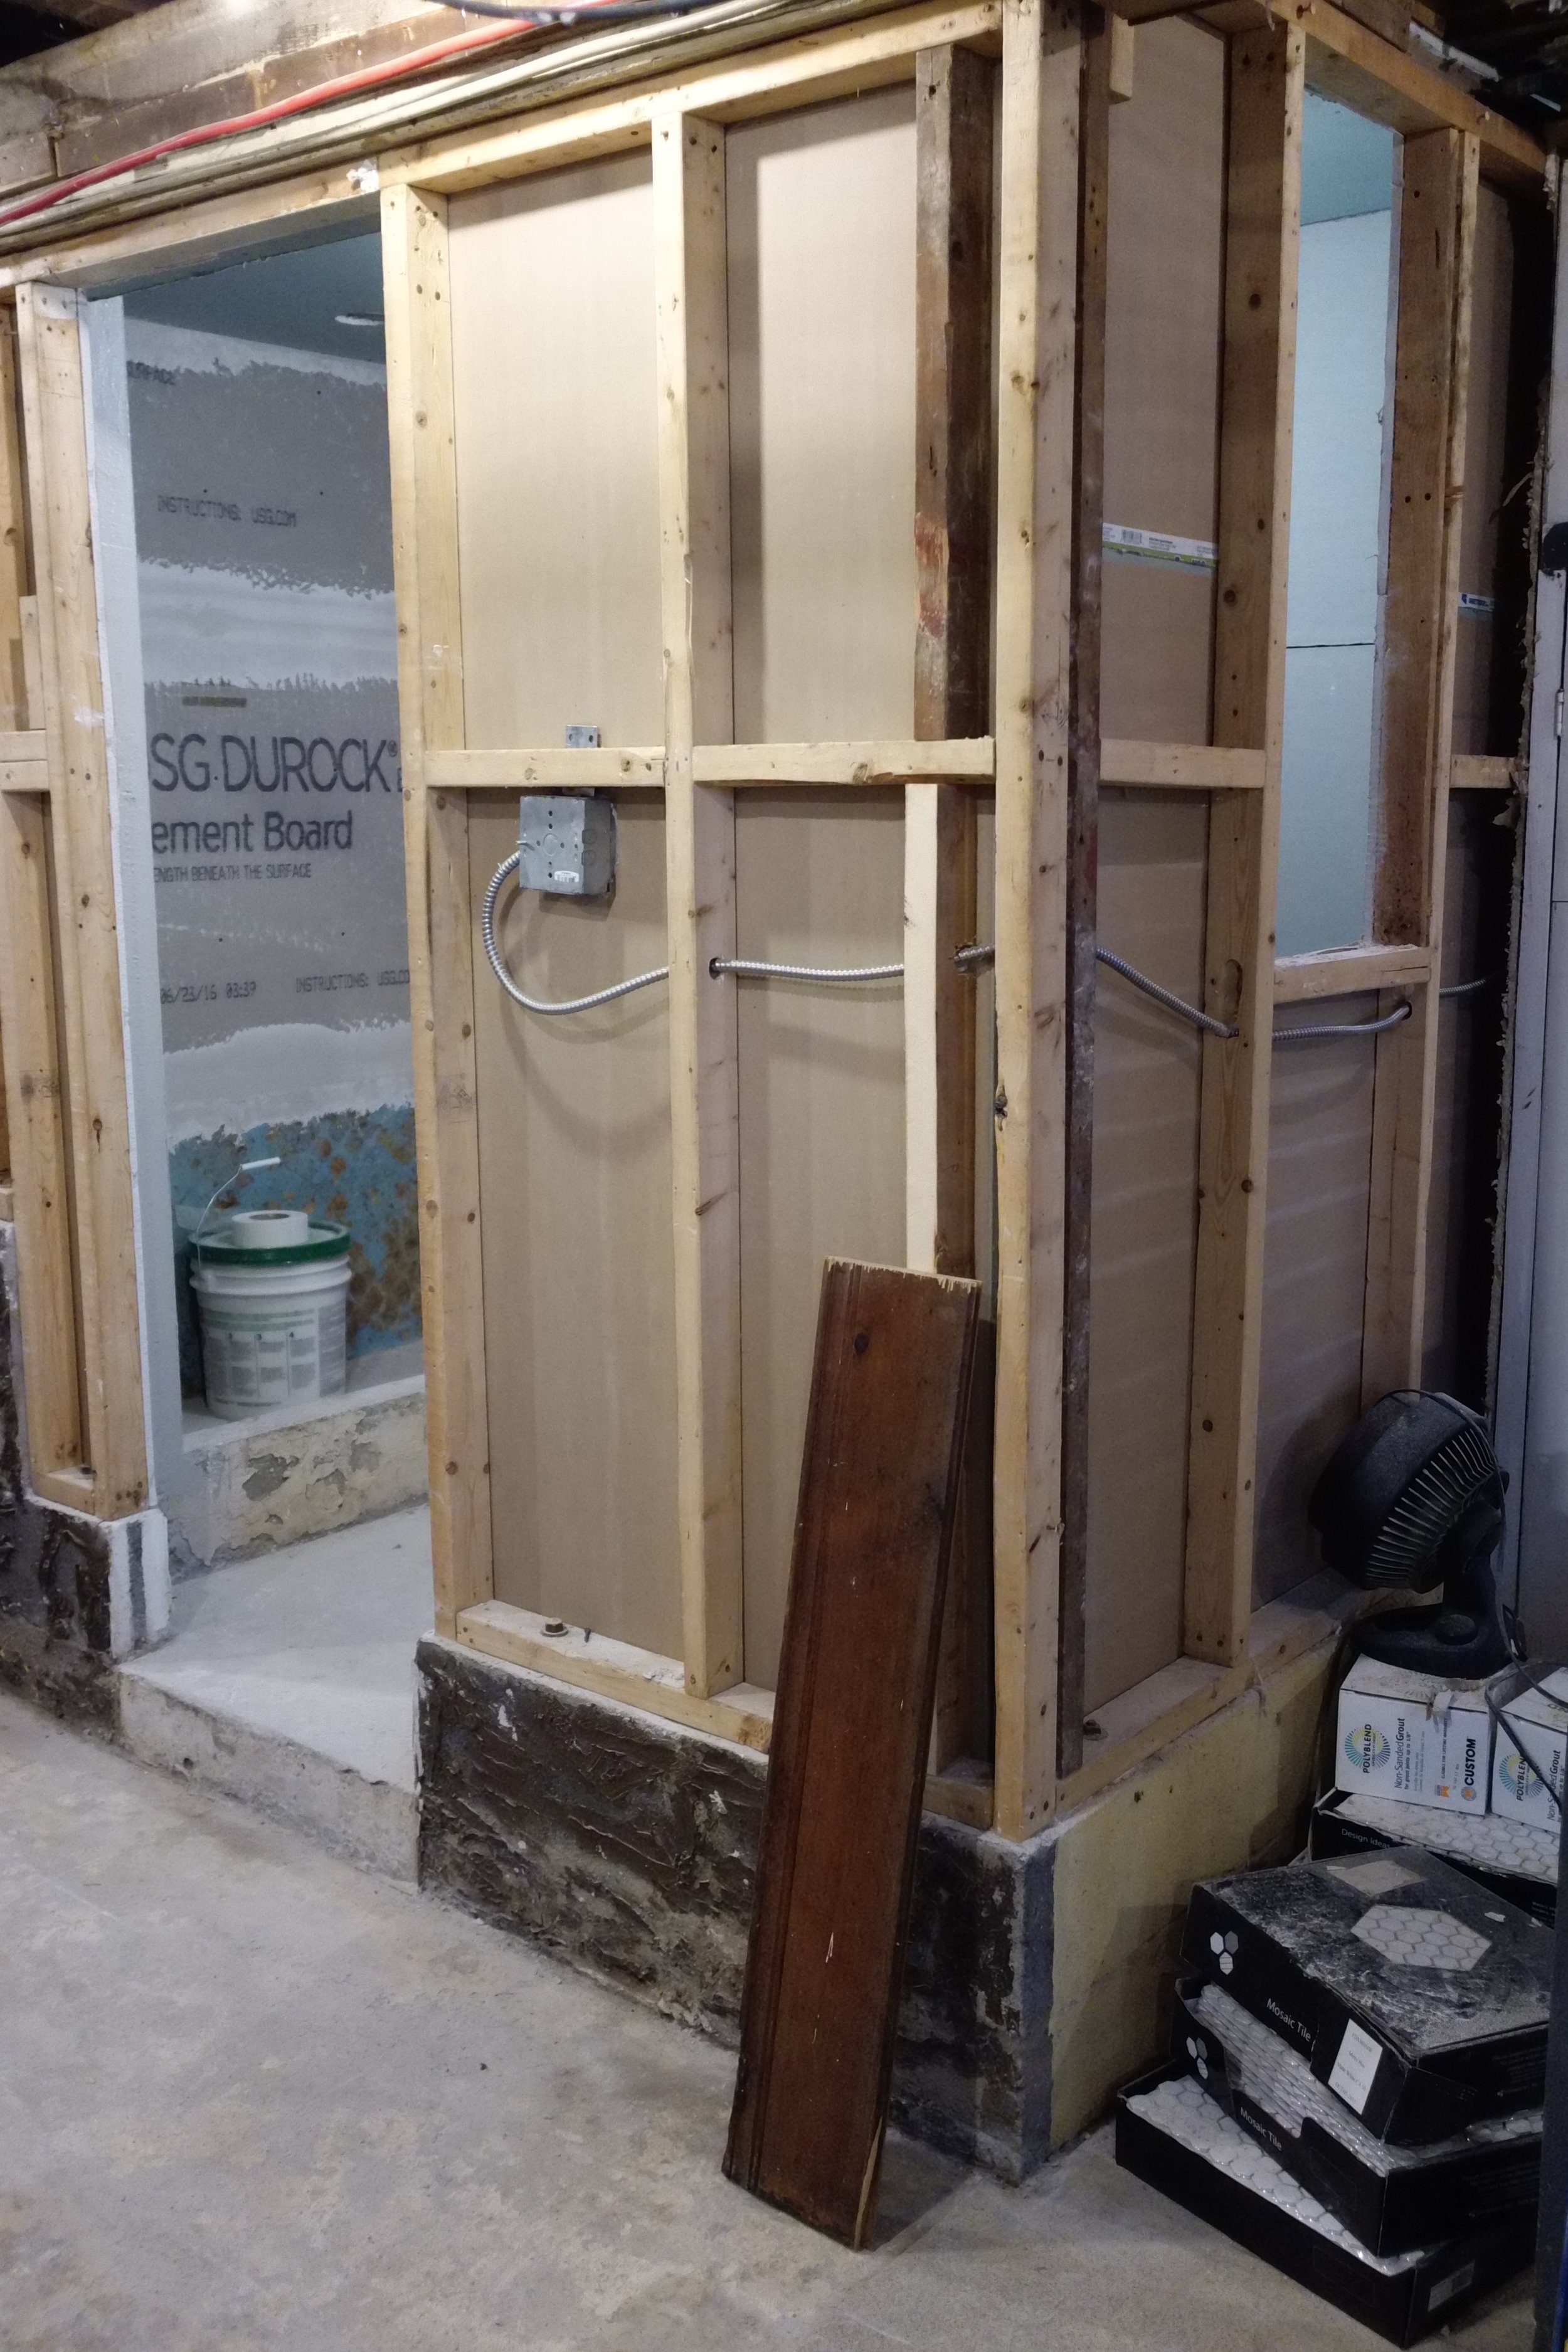
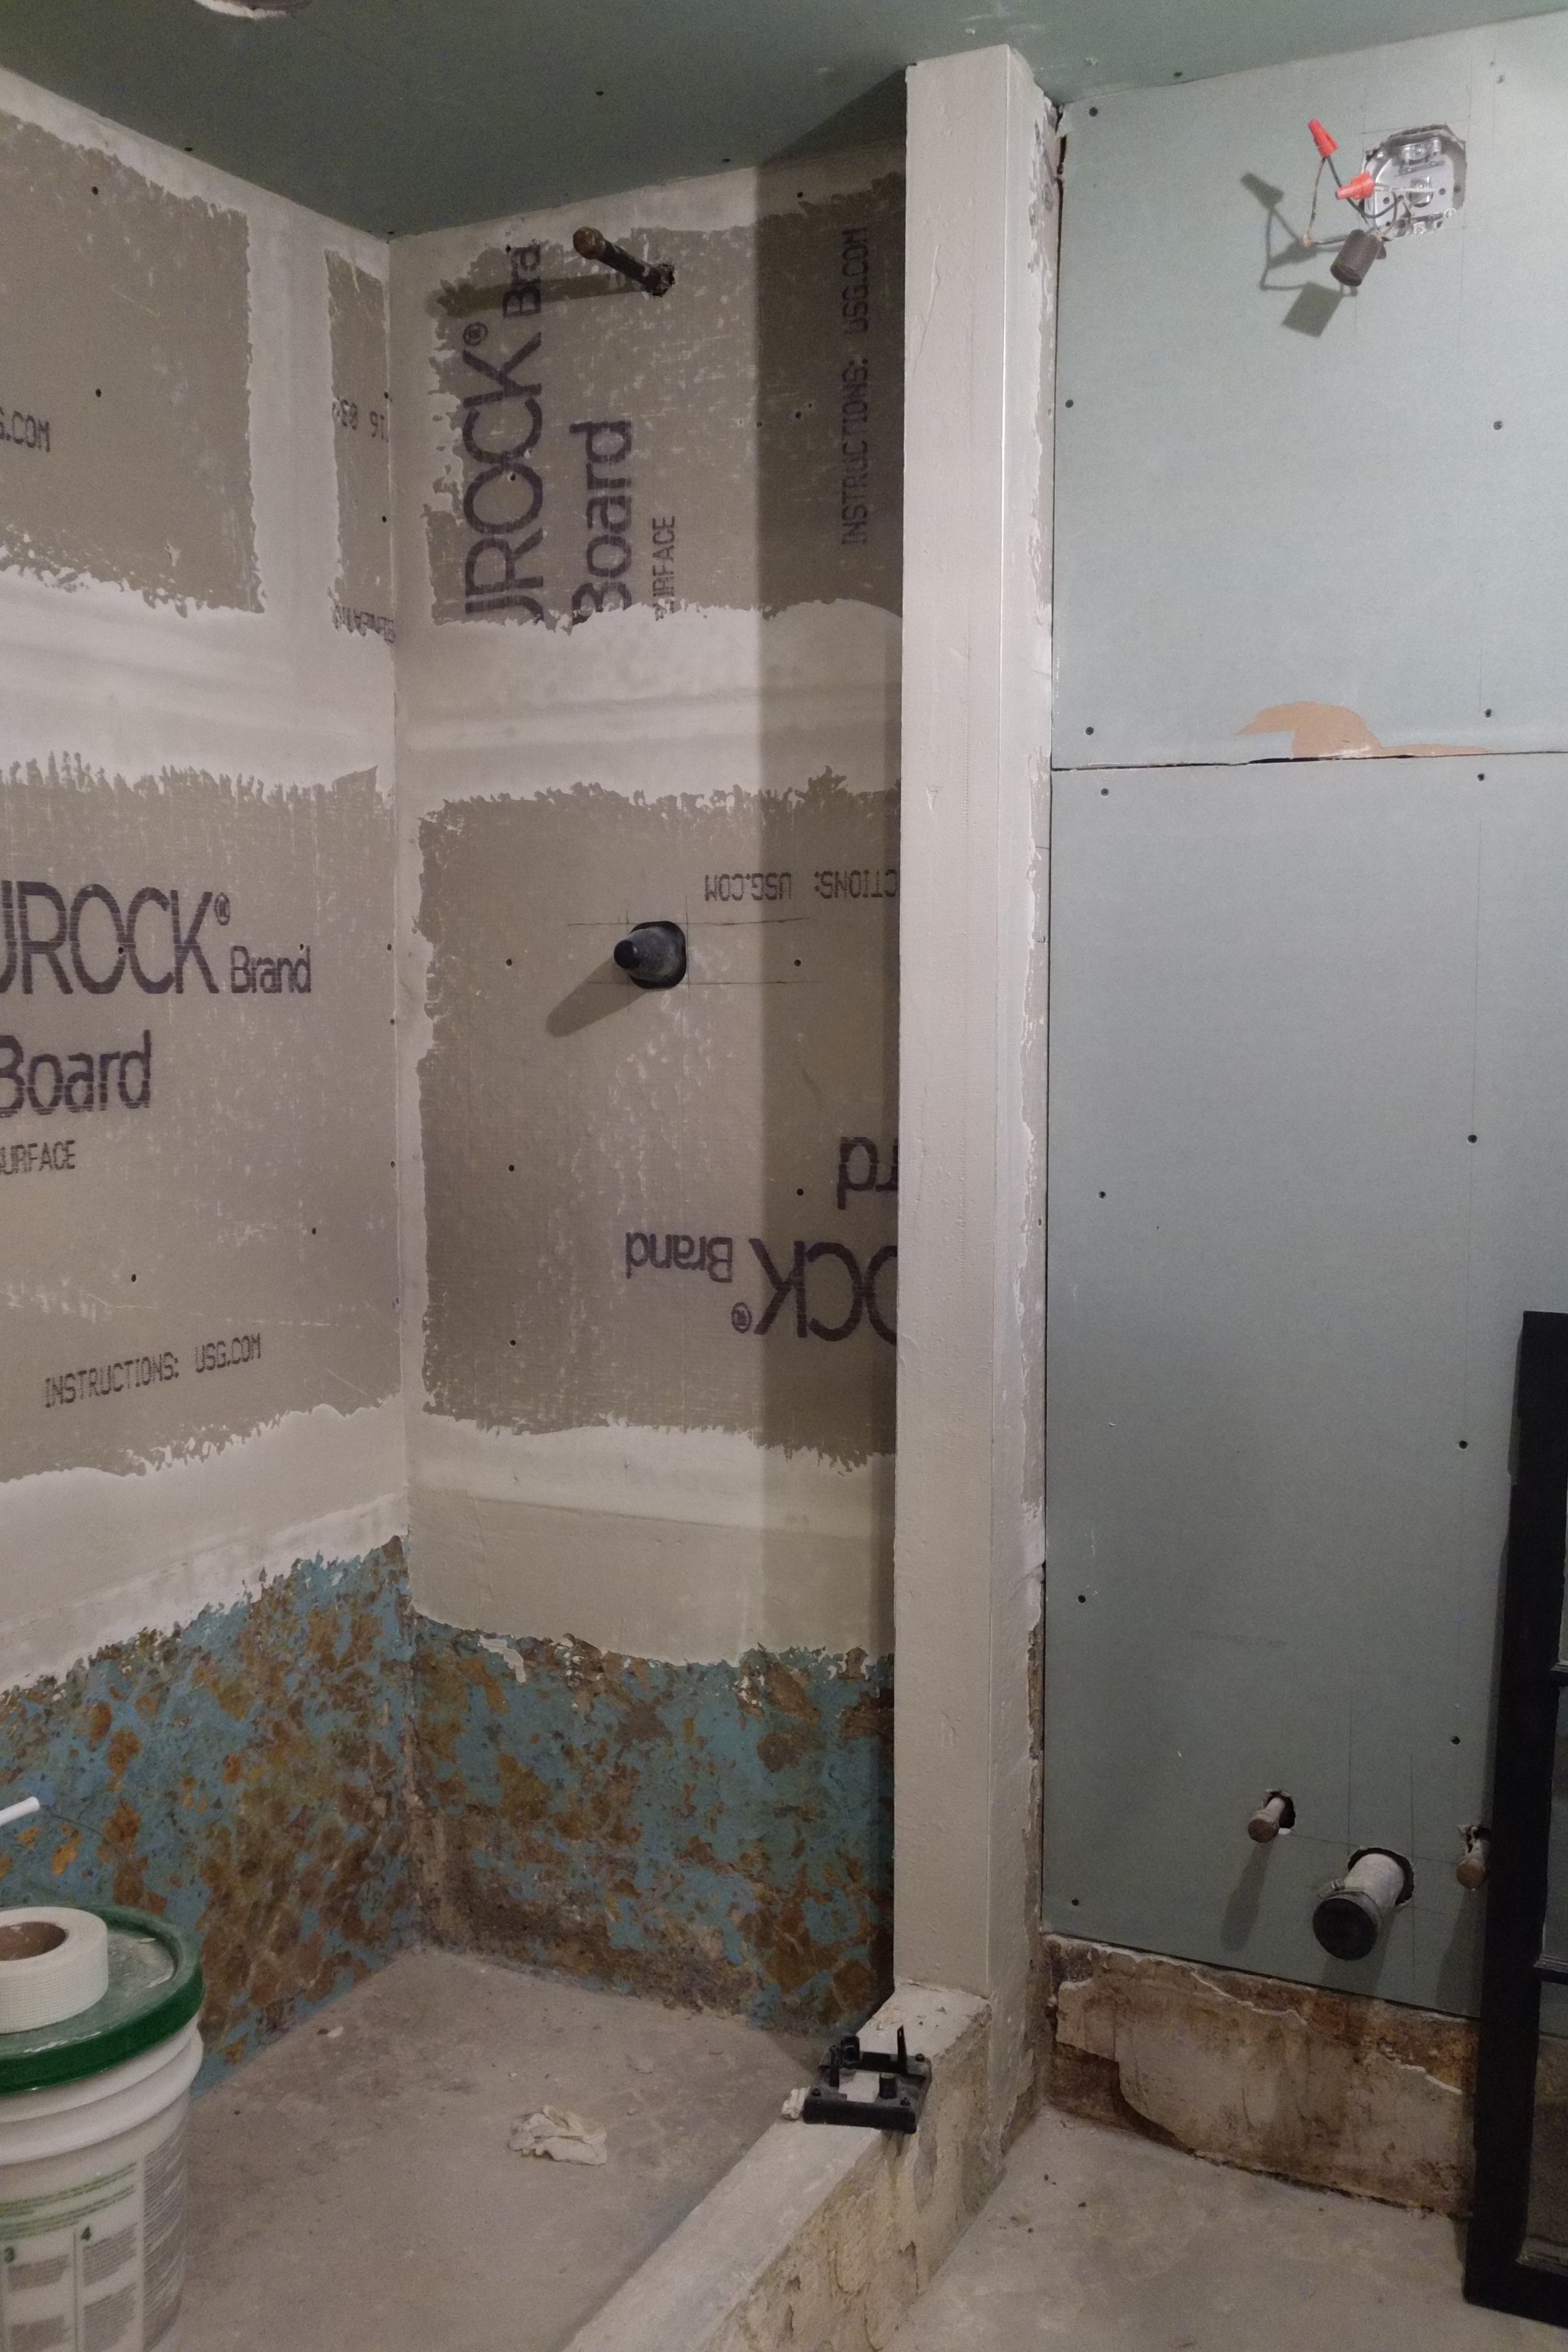
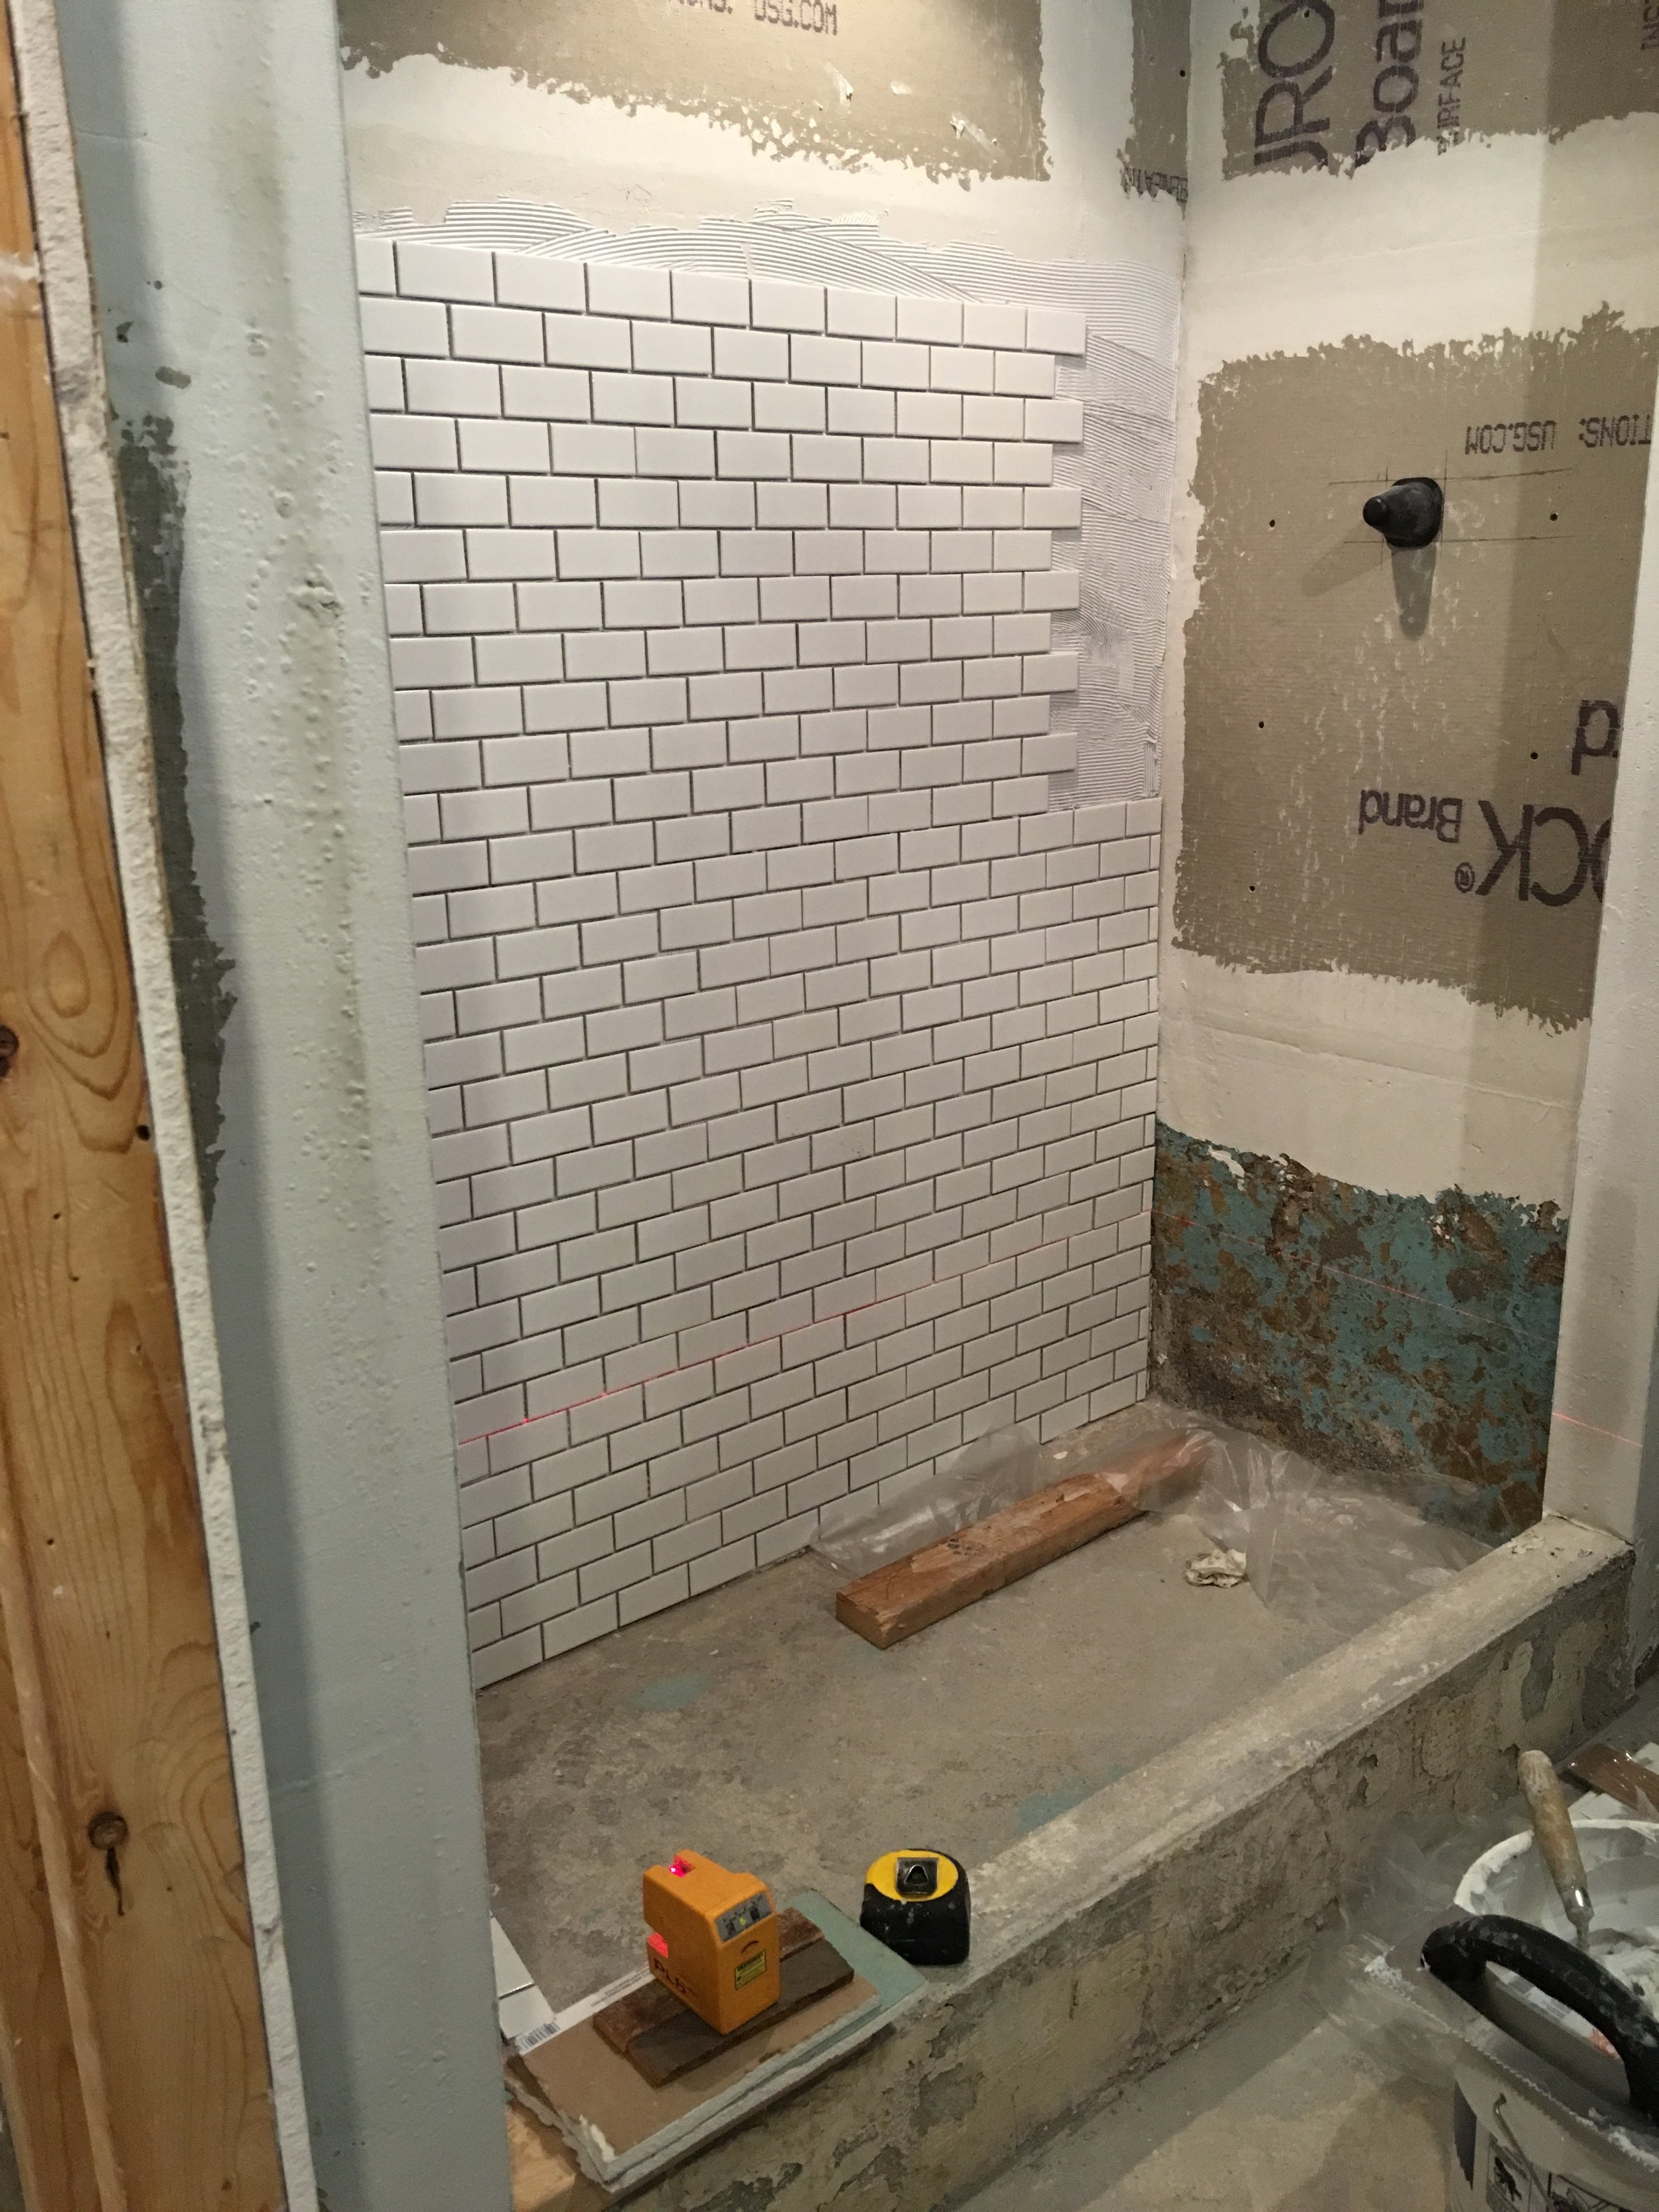
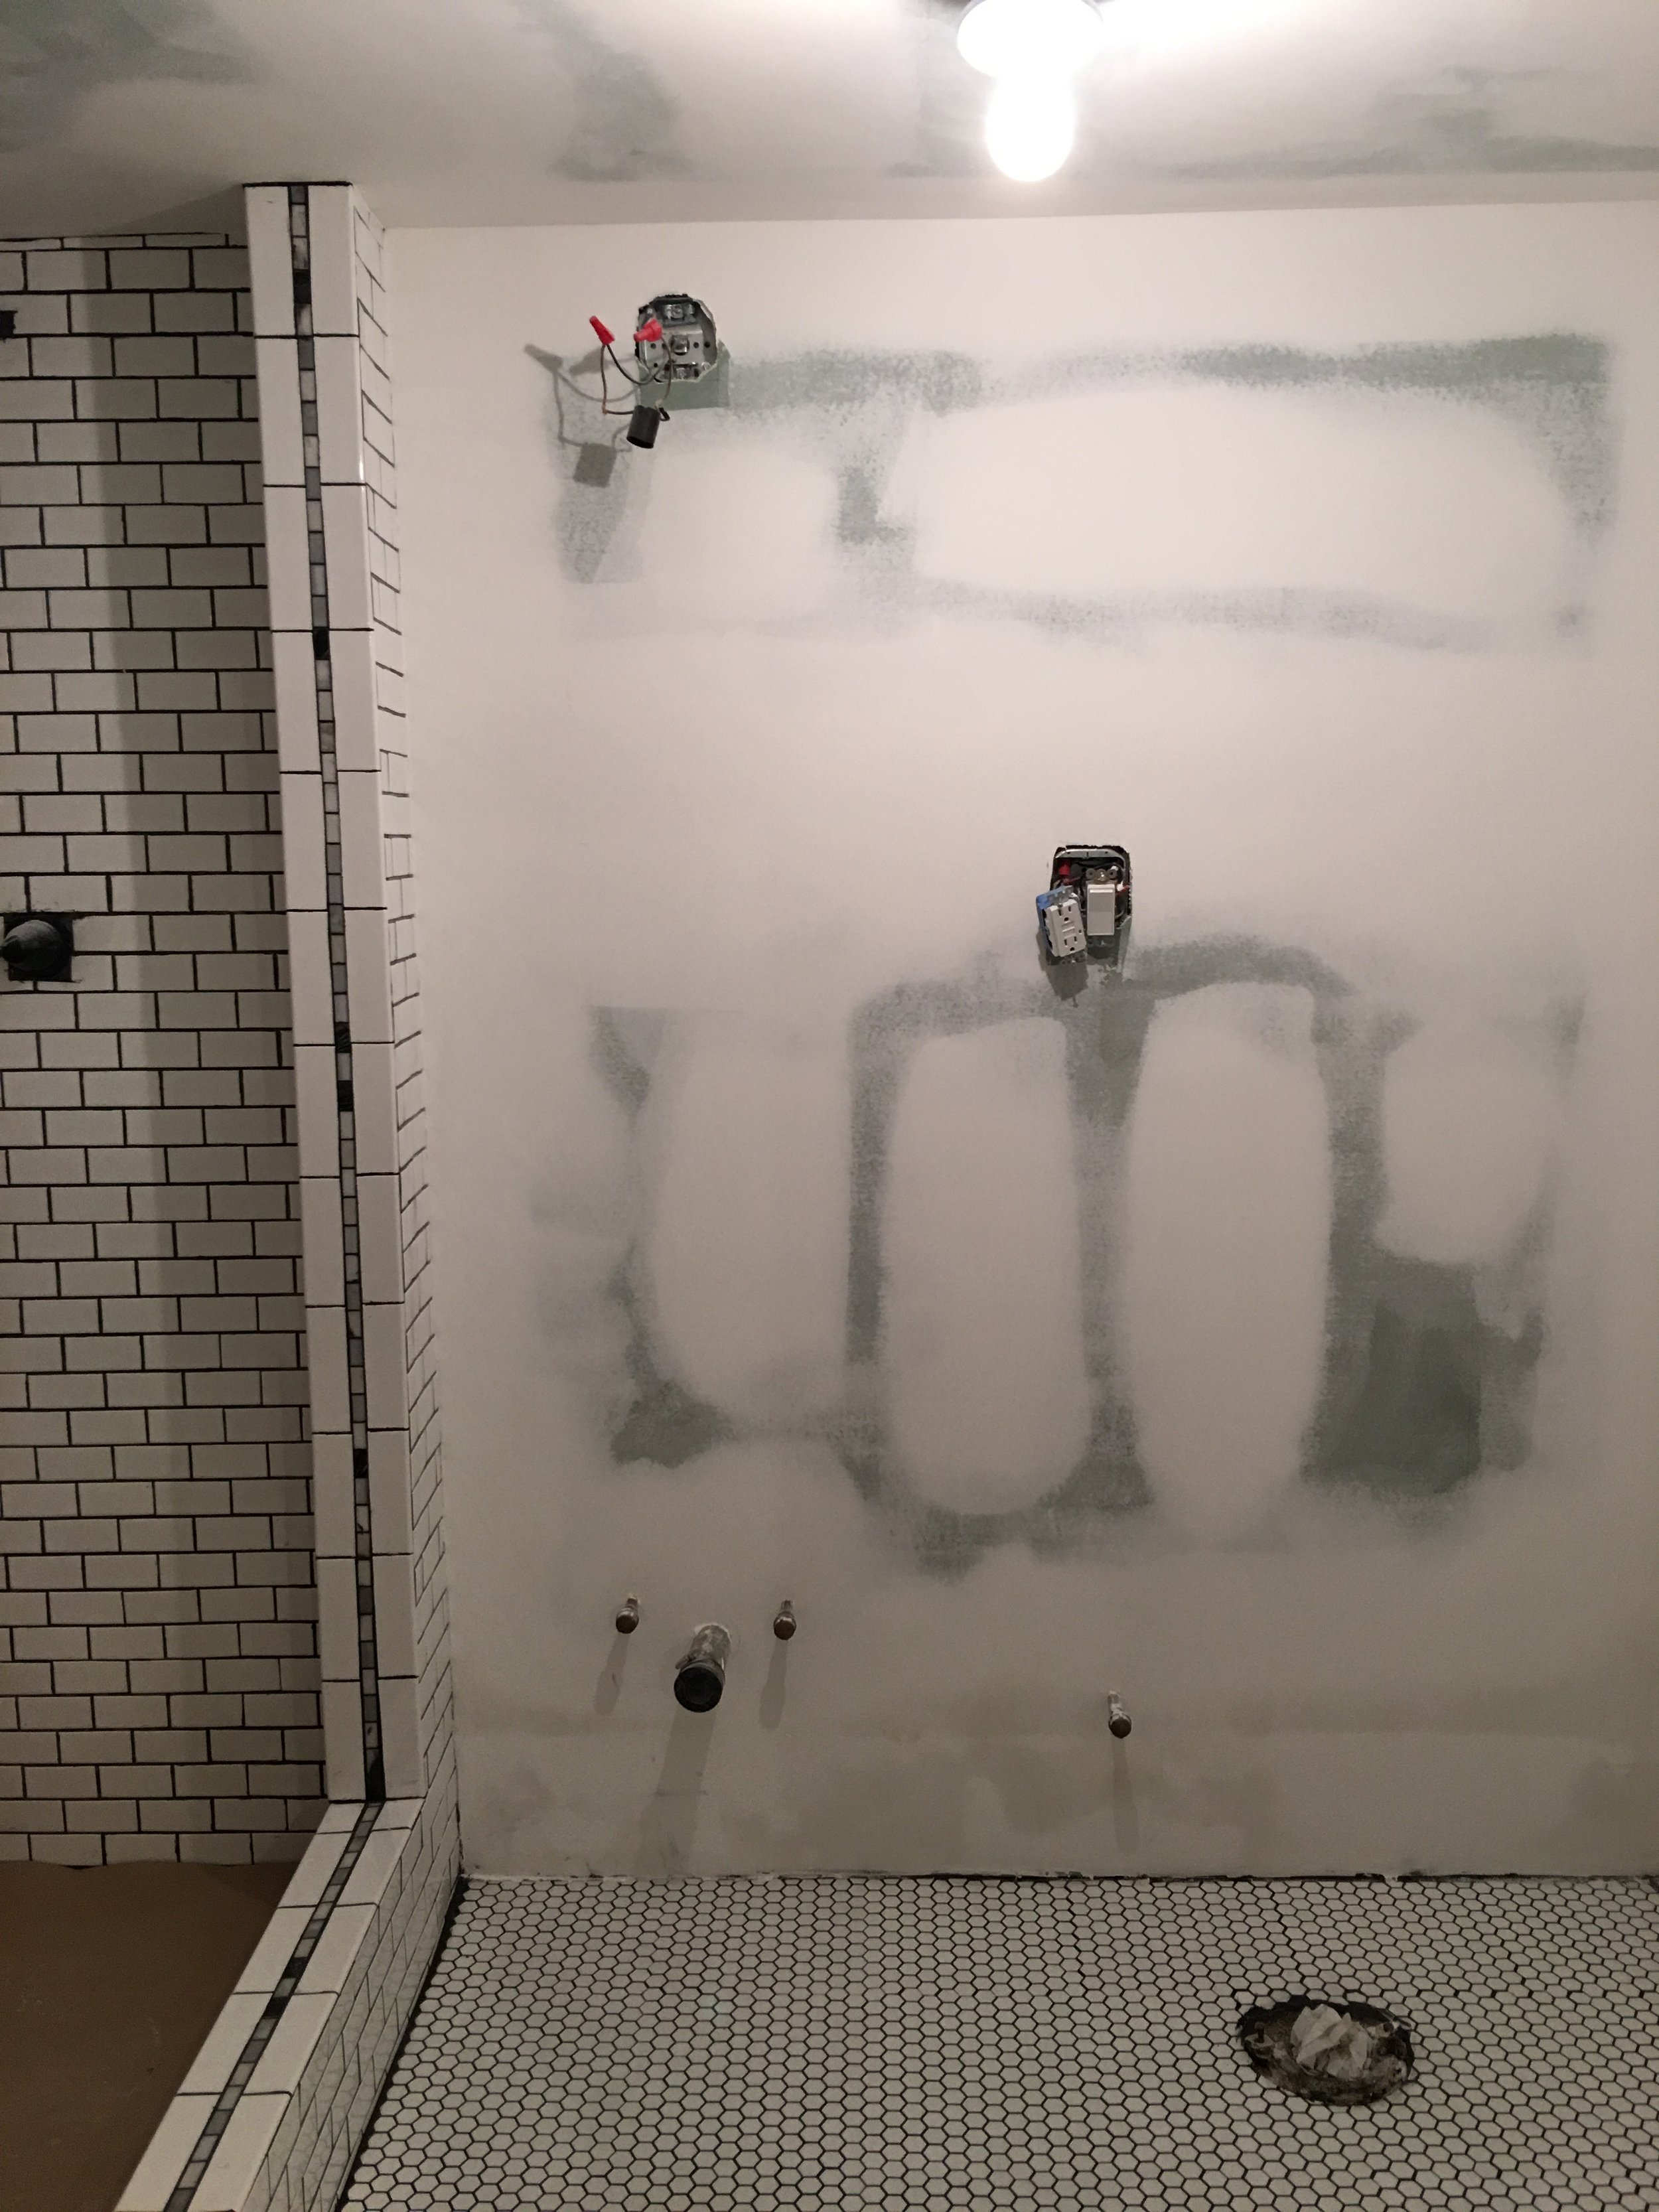
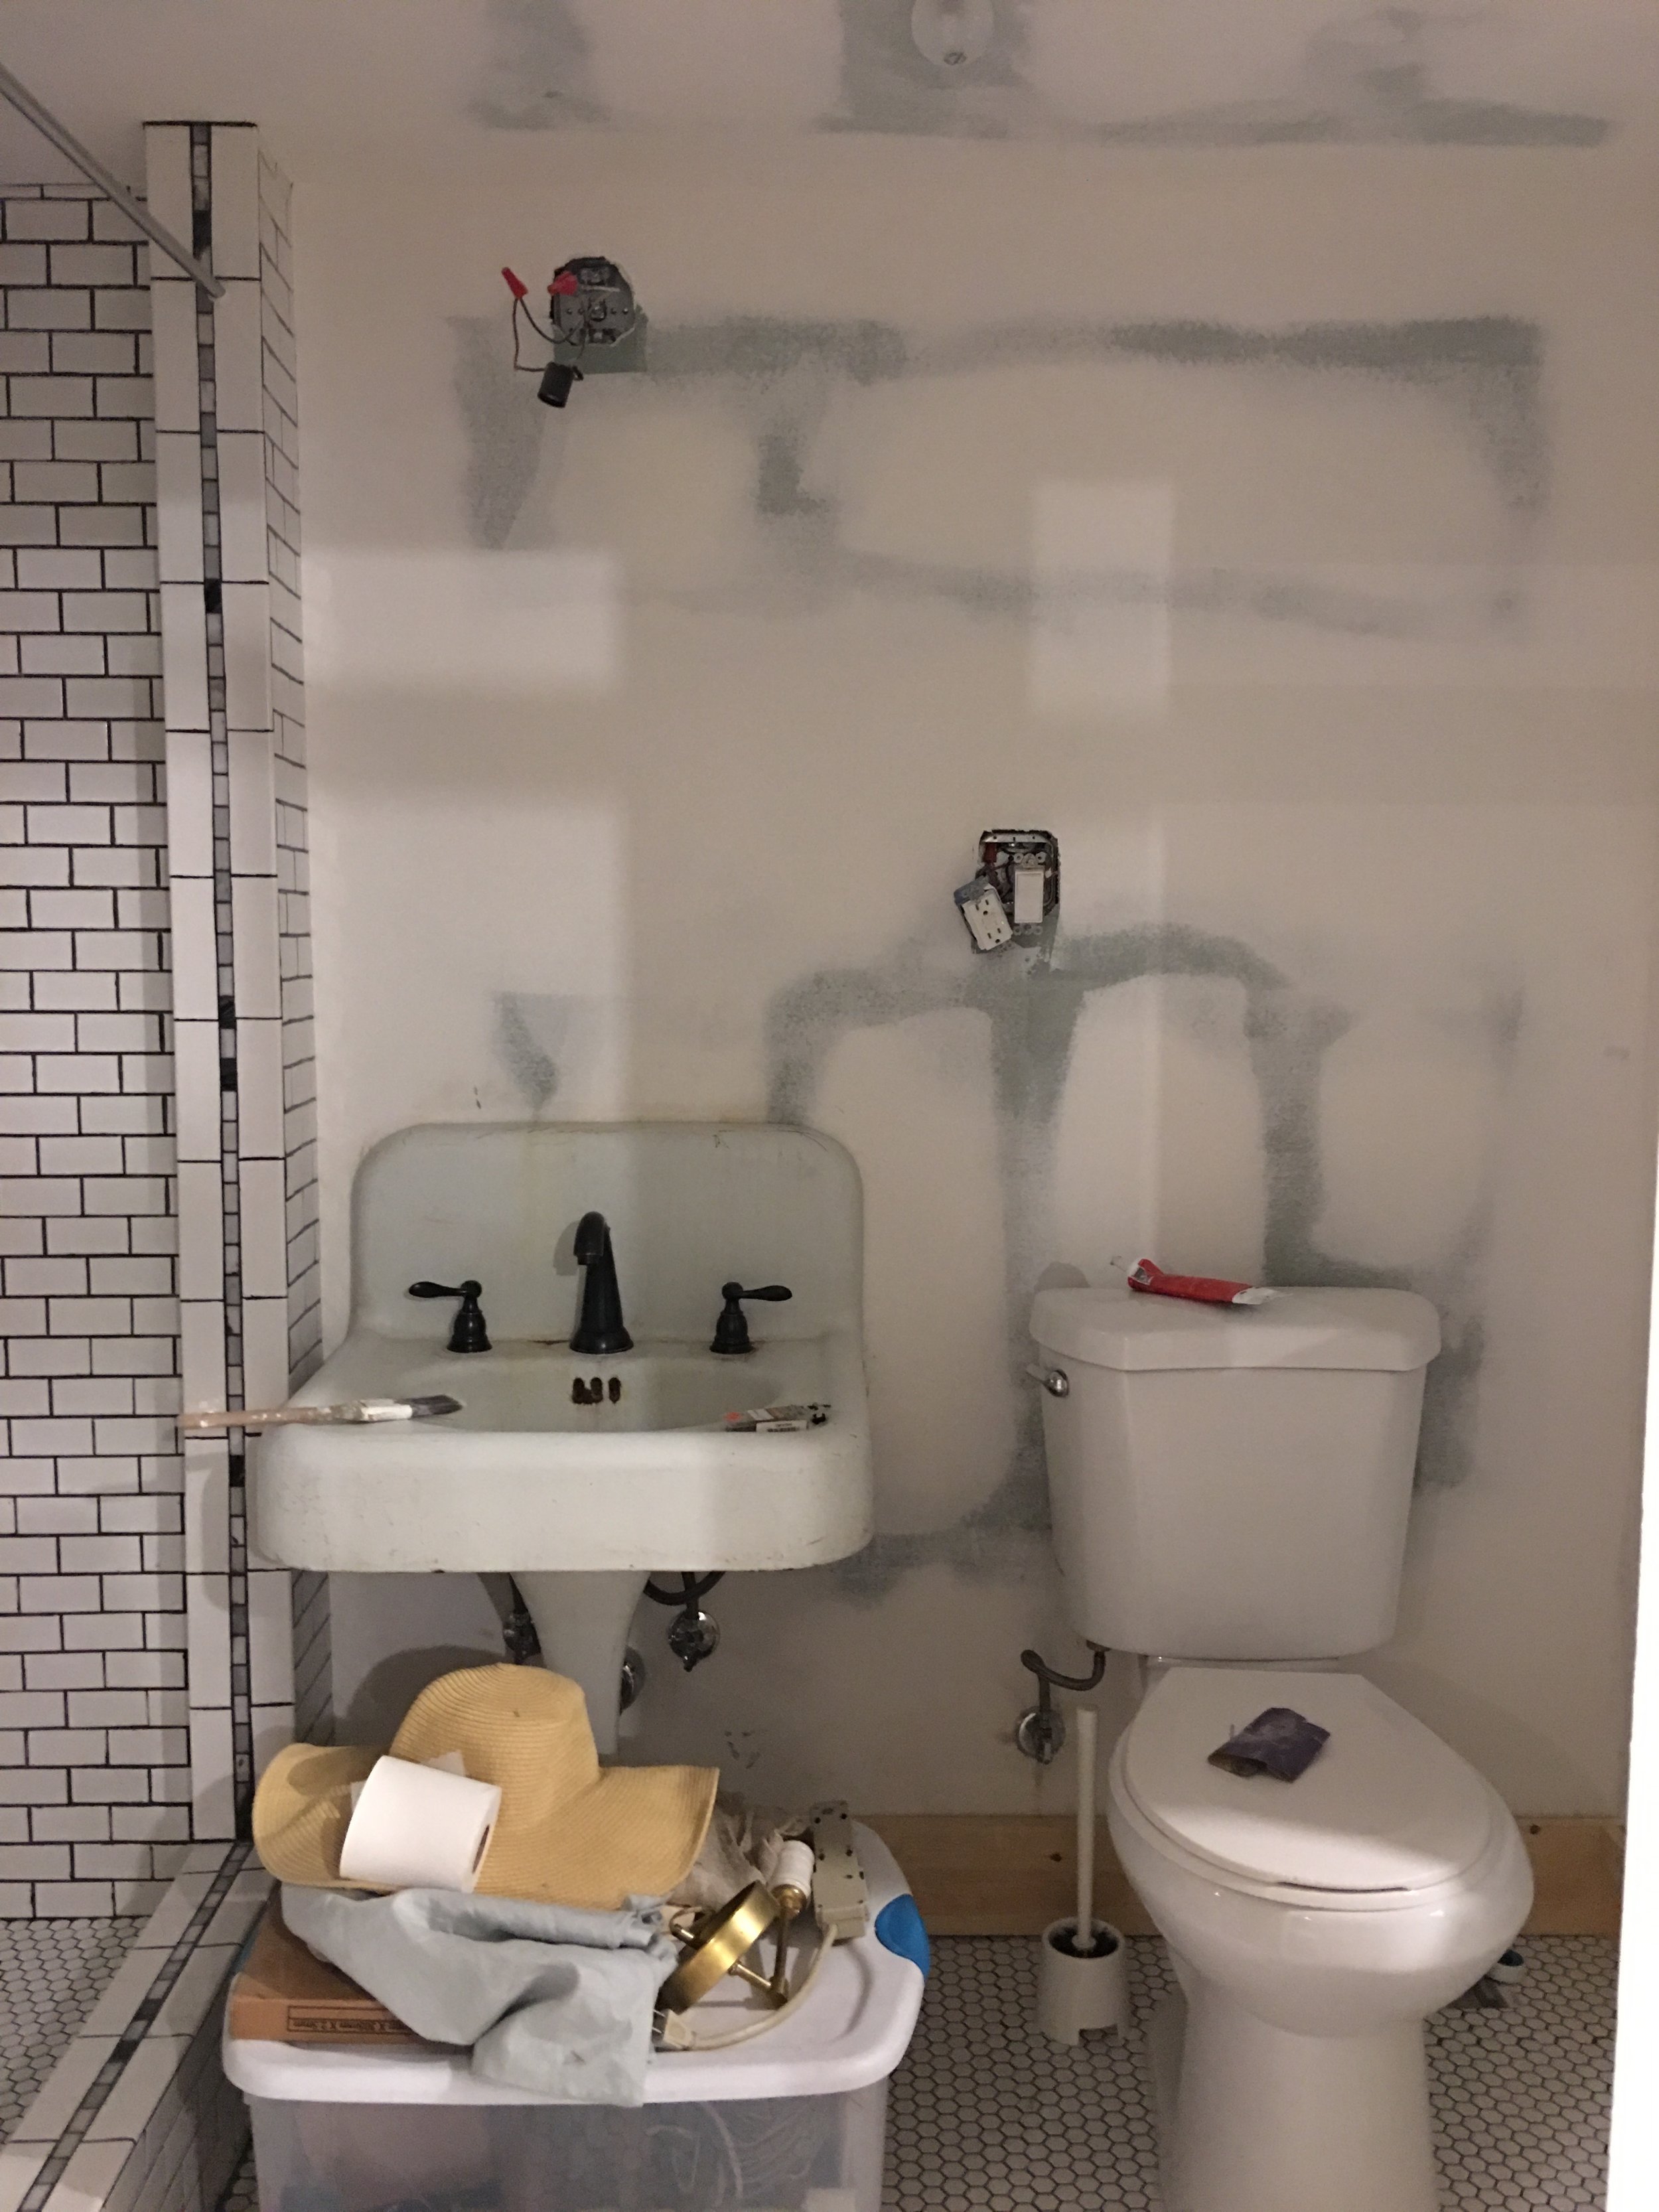
The bathroom went from a shell to looking like a real bathroom. In case you are wondering, the sink is vintage and I used this subway tile.
Next week, I hope to have the fireplace built, paint on the walls and floor, and some exciting molding details. Fingers crossed, guys. They don't call this the "One Room Challenge" for nothing!
In case you missed Week One, you can find it here.
Want to keep up with my project on Pinterest? You can follow my One Room Challenge Board here.
Be sure to check out the other ORC updates, and thanks so much to Linda for including me!

Jana Bek | Chris Loves Julia | Shannon Claire | Coco.Kelly | The Curated House
Driven by Décor | The English Room | From the Right Bank | Sherry Heart
Hi Sugarplum | House of Jade | Hunted Interior | The Makerista | Making it Lovely
Marcus Design | Pencil & Paper Co. | Megan Pflug | Place of My Taste | Suburban B’s
Waiting on Martha Media Partner House Beautiful | TM by CIH